In case you missed it, here's Part 1: S5 Build: Part 1.
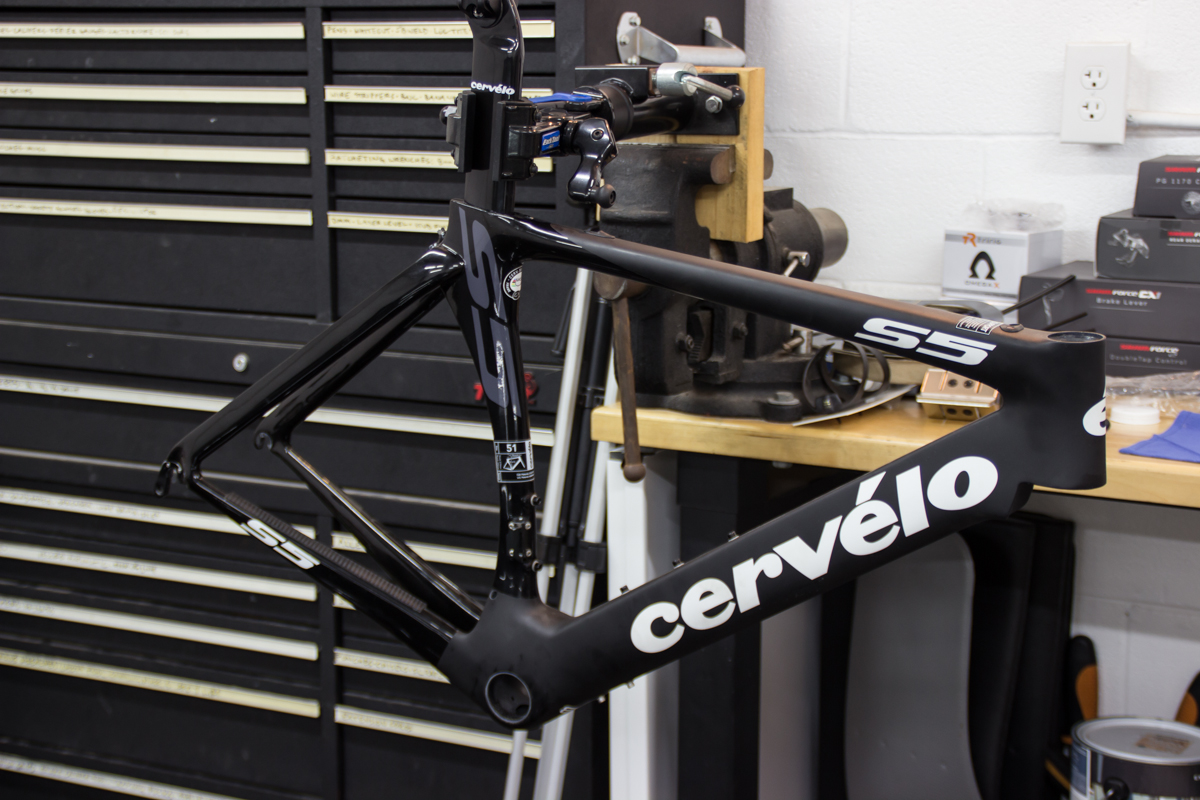
Here's where we left off in Part 1, ready for assembly.
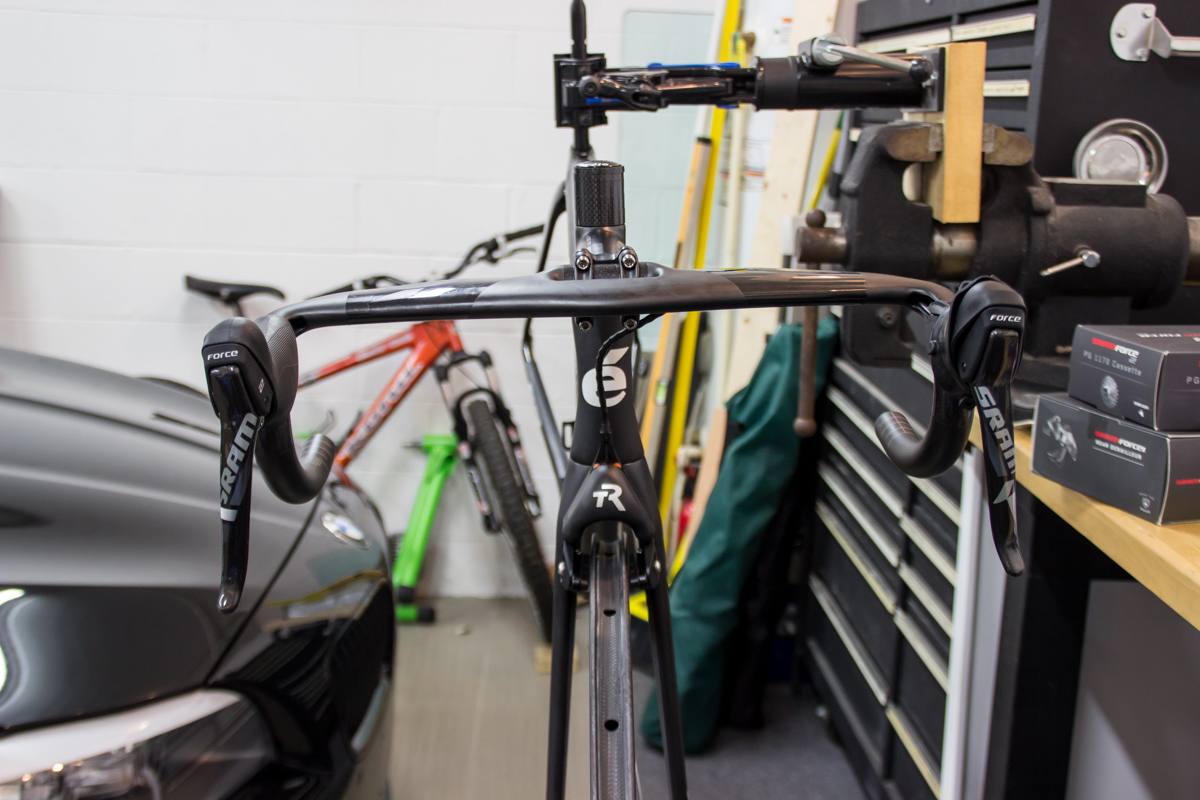
I've chosen to build the bike with SRAM Force 1. Single front chainring (52-teeth). No front derailleur, which means no front shifter. The left (front) brake will be just a brake. This groupset was a little tough to piece together. I had to buy each piece separately. I don't know why, but you can't just buy a whole groupset. The crankset (with 165mm cranks) came from Amazon, the left brake lever is a Force CX1 brake-only component originally designed for cyclocross, but the right brake/shifter is Force 22 road component, and labeled as such. The rear derailleur is Force 1, Type 2.1 Clutch design.


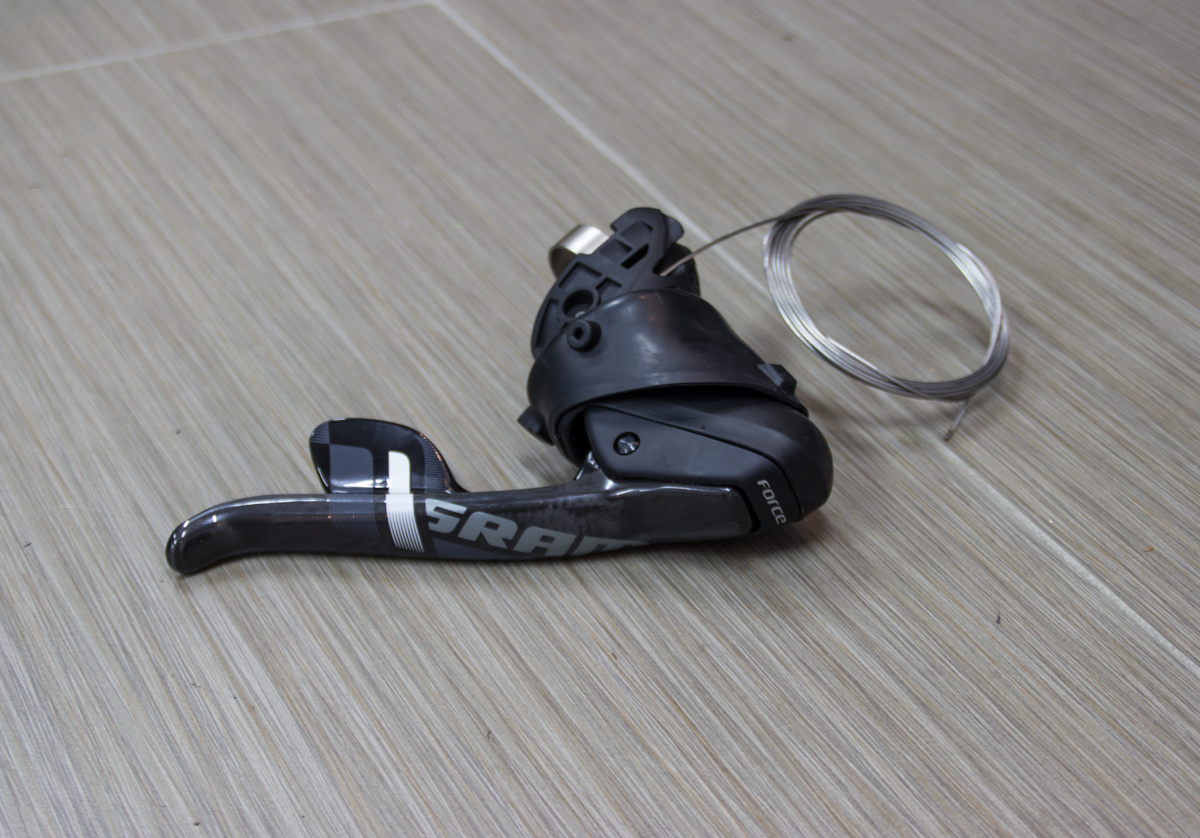
You can see the difference in the graphics on the two levers.

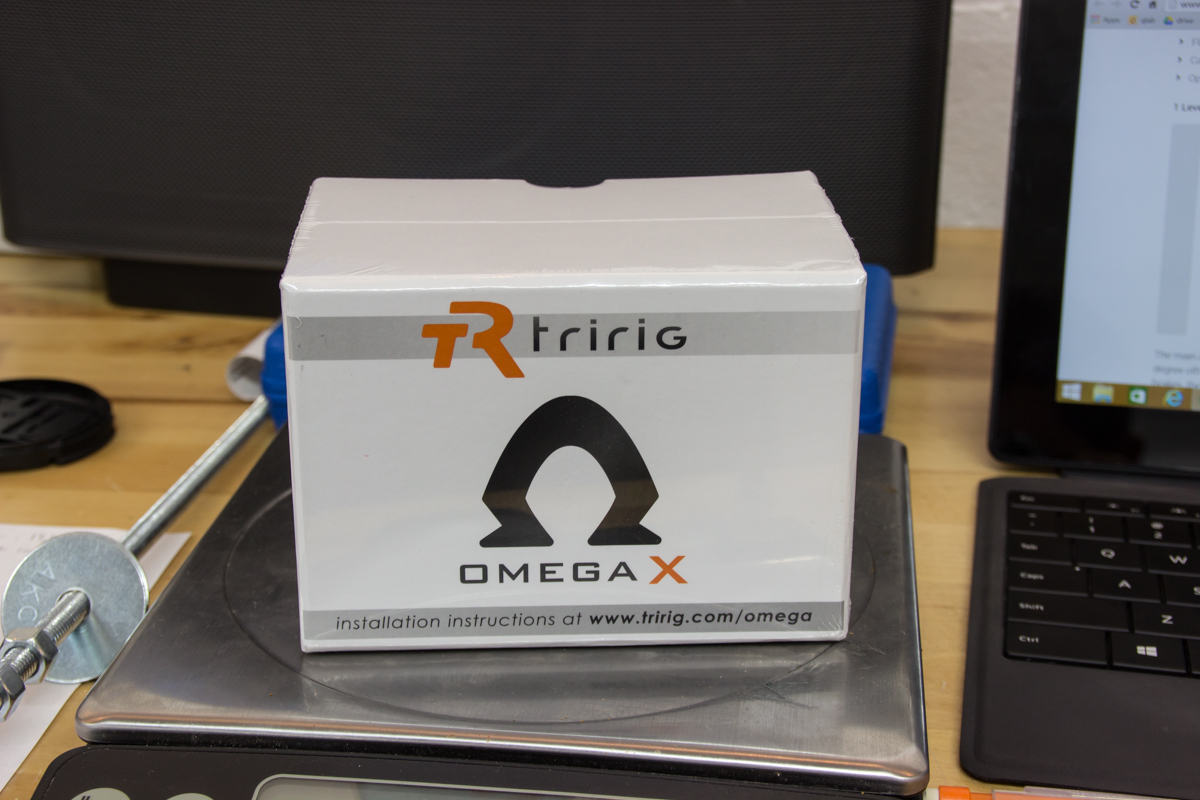
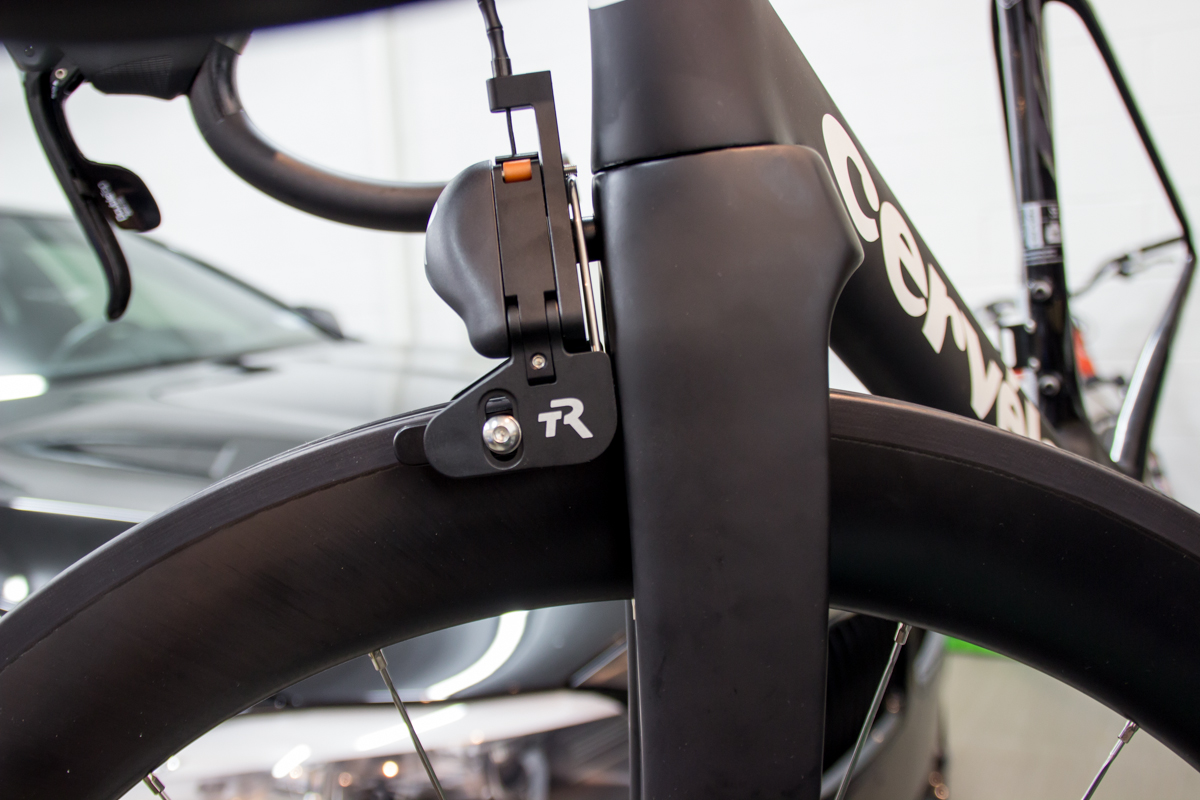
Some studies have shown the TriRig Omega X brakes to save 6 watts over traditional side-pull designs. I was concerned about braking performance on a road bike, as the braking of the TriRig Omega SV's on my triathlon bike isn't particularly good. However, I live 700 miles from the nearest mountain, so I might be able to get away with less-than-stellar braking performance.
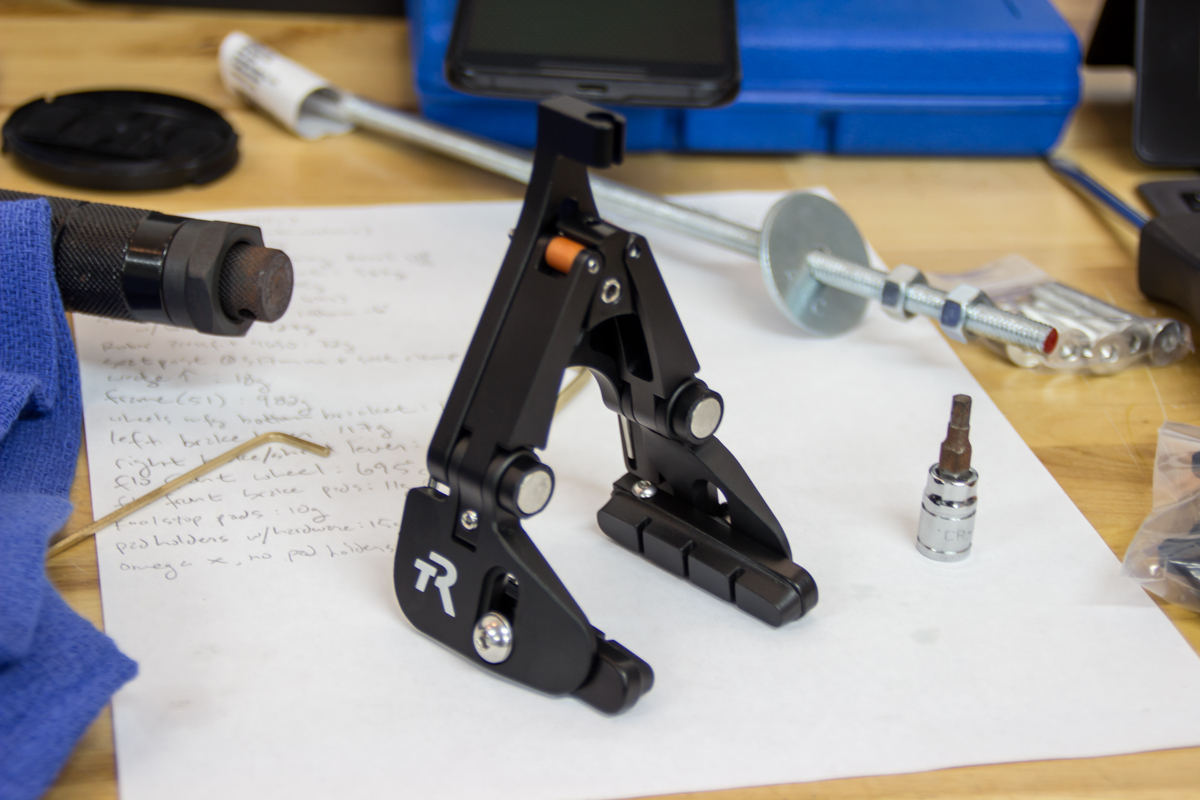
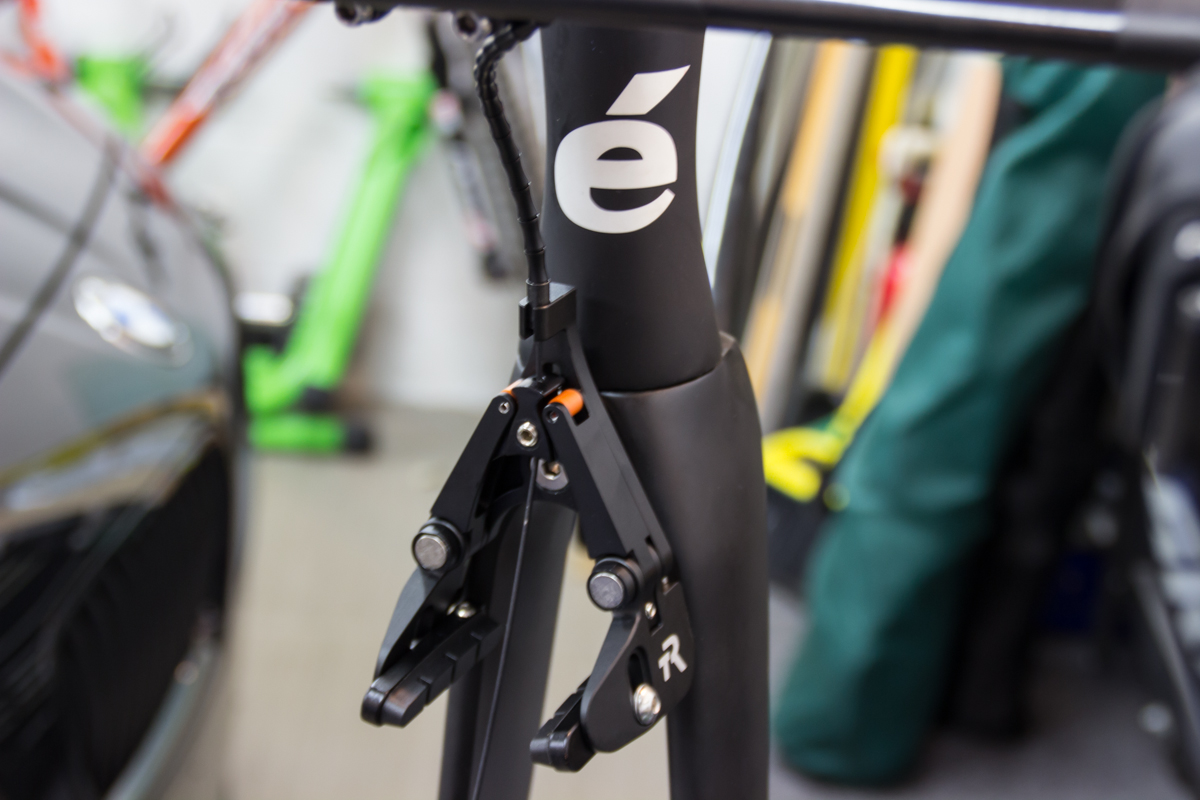
The TriRig mounts with a single bolt and recessed nut, like most brakes.


I decided to try Jagwire's segmented cable solutions, mostly because of the flexibility and partly because of the looks.


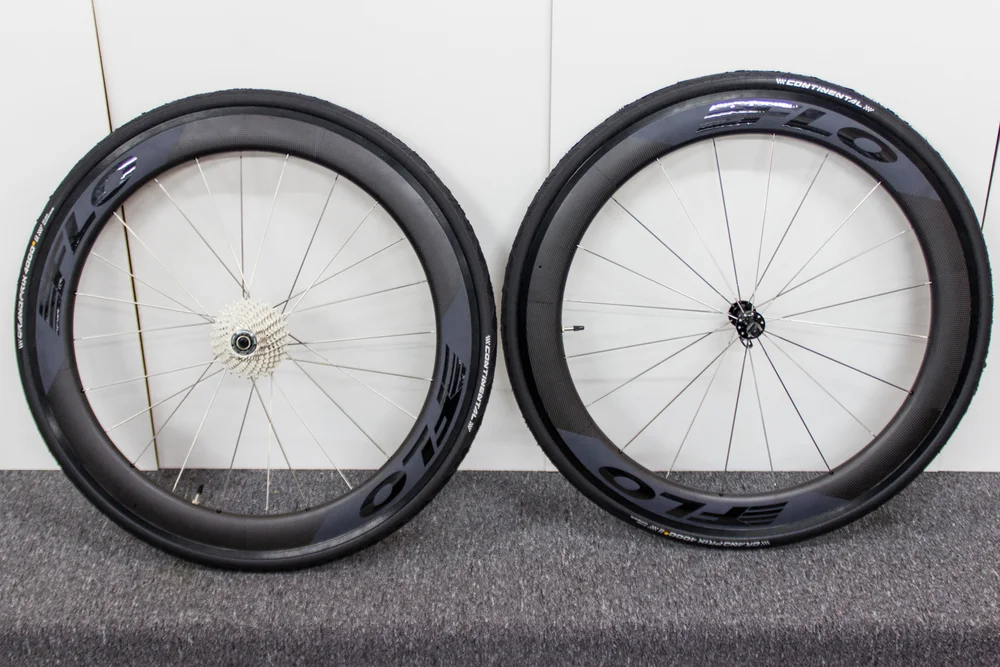
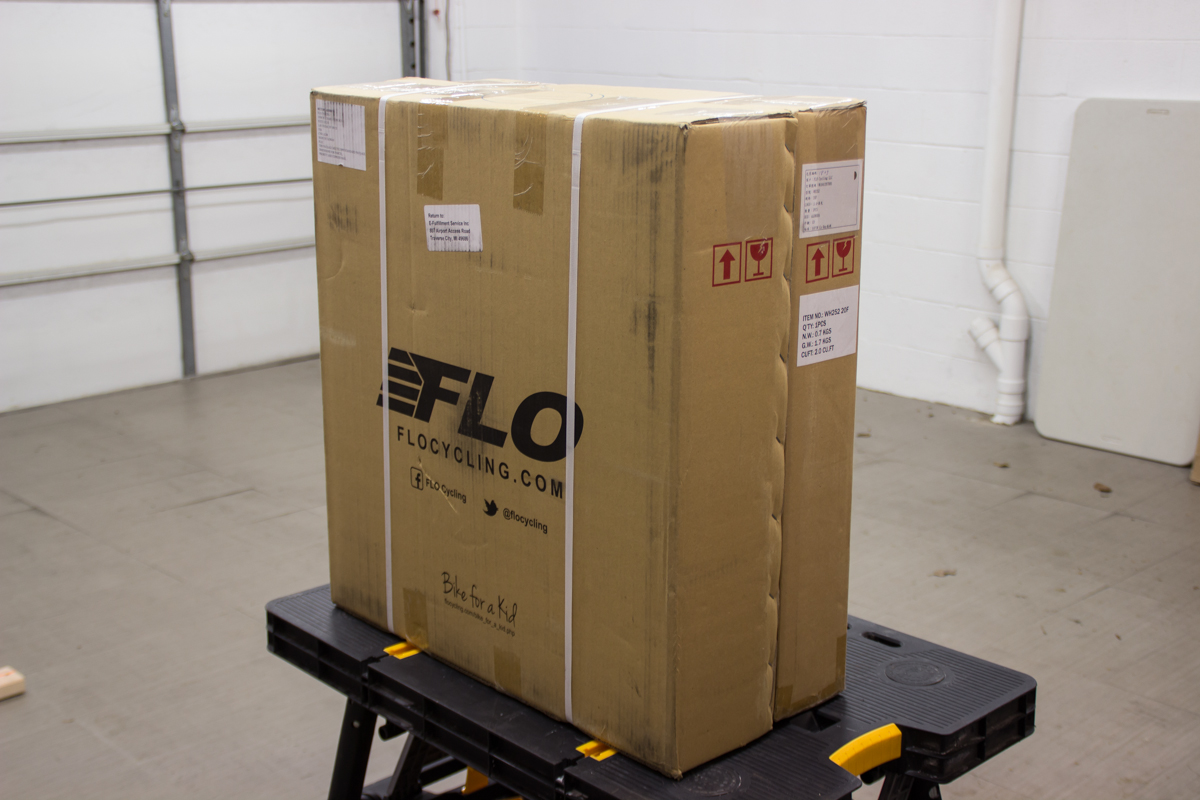
I was going to re-use the Flo 60 aluminum-rim/carbon-fairing wheels from my Allez build, but then Flo completely redesigned the rim profile and released a full carbon clincher. I couldn't resist, so I picked up a set of the 60mm depth.
To keep the look from being too busy, I opted for no stickers. The unidirectional carbon looks great. The front wheel weight came in 32g below the spec.

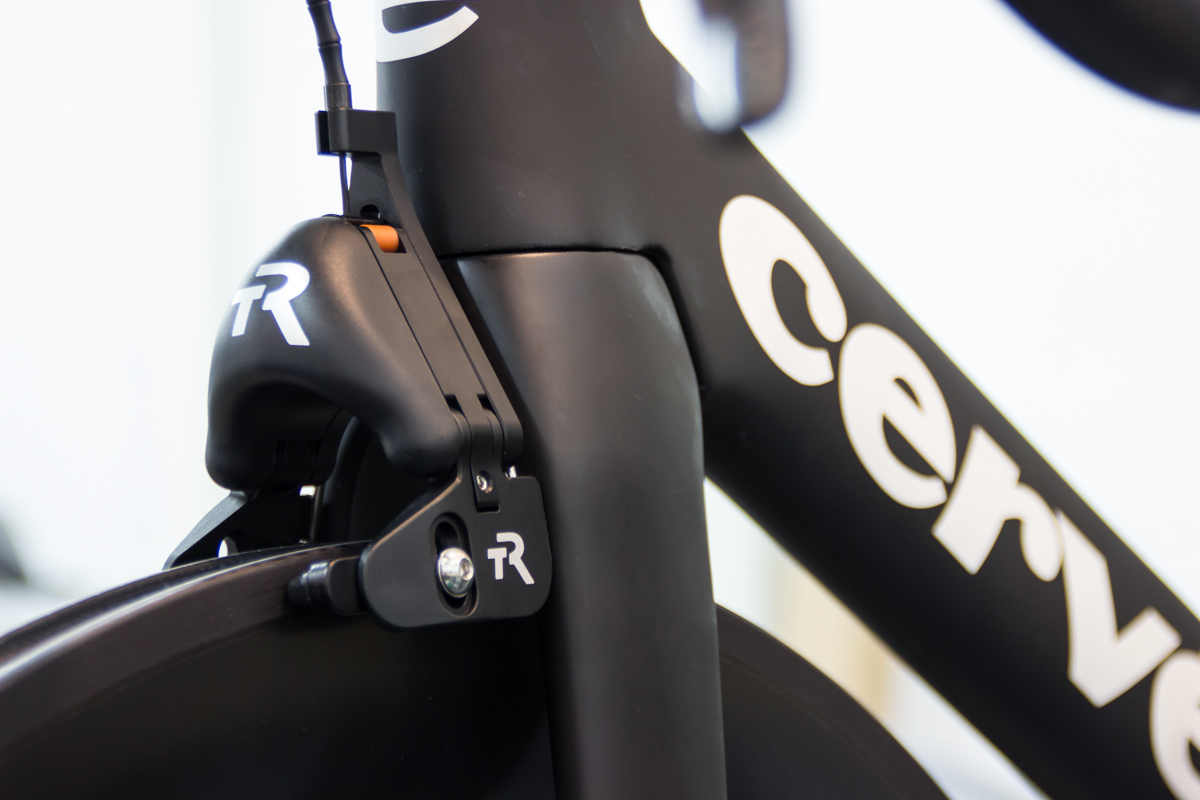
The spacing between the brake and the fork is mighty tight, but I like it. If it proves too tight, I can just add a 2mm spacer (provided with the brake) to move it farther out.
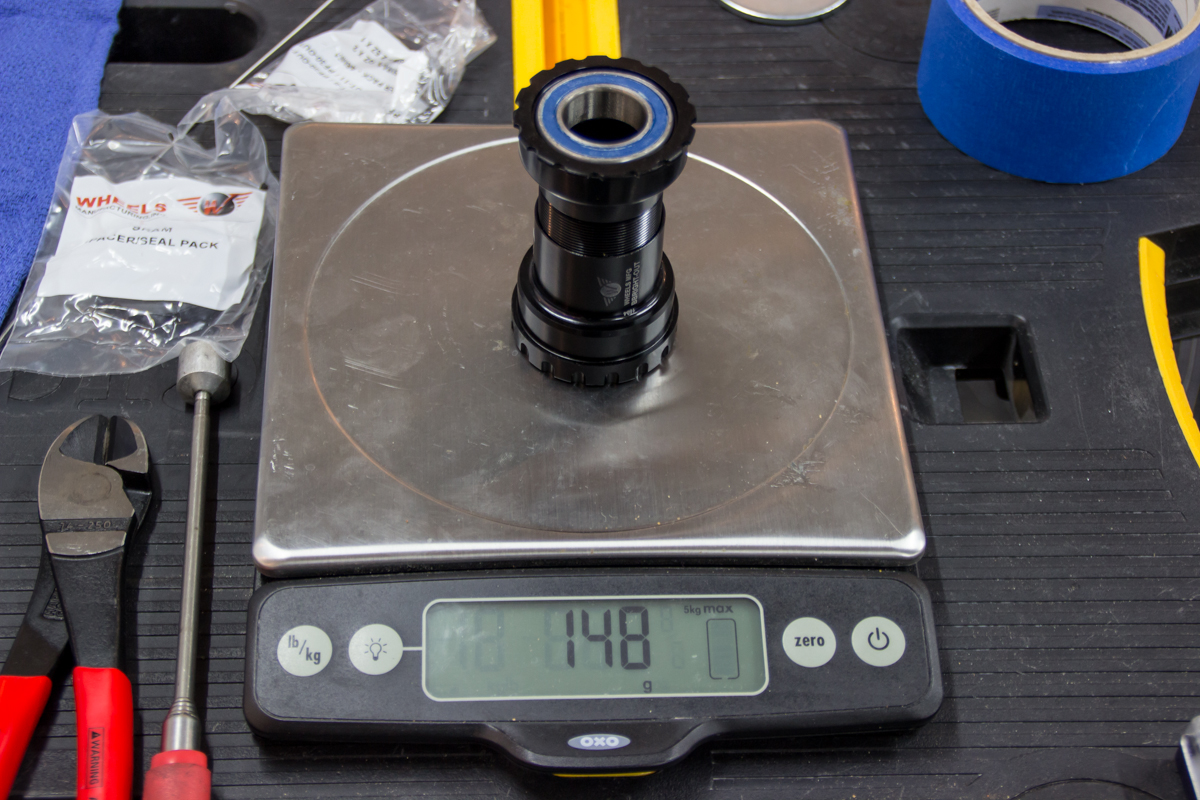
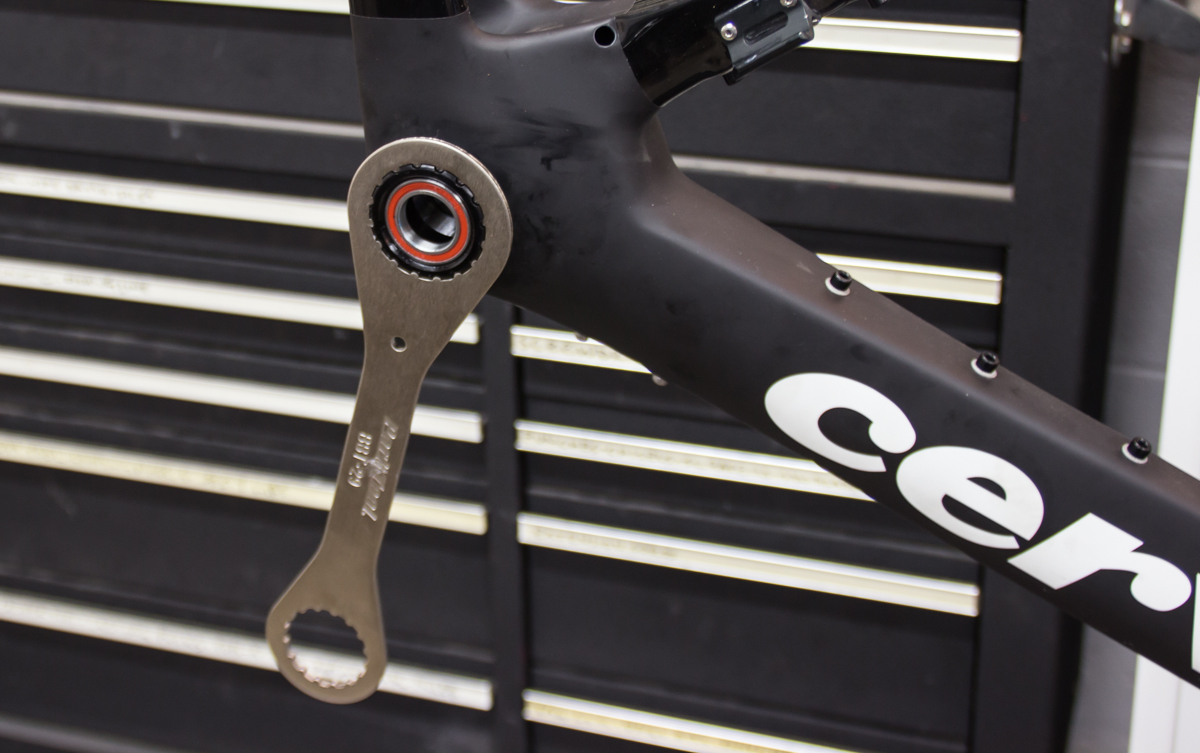
As mentioned in part 1, I chose to install a self-threading bottom bracket with bearings specifically sized for SRAM GXP cranks.
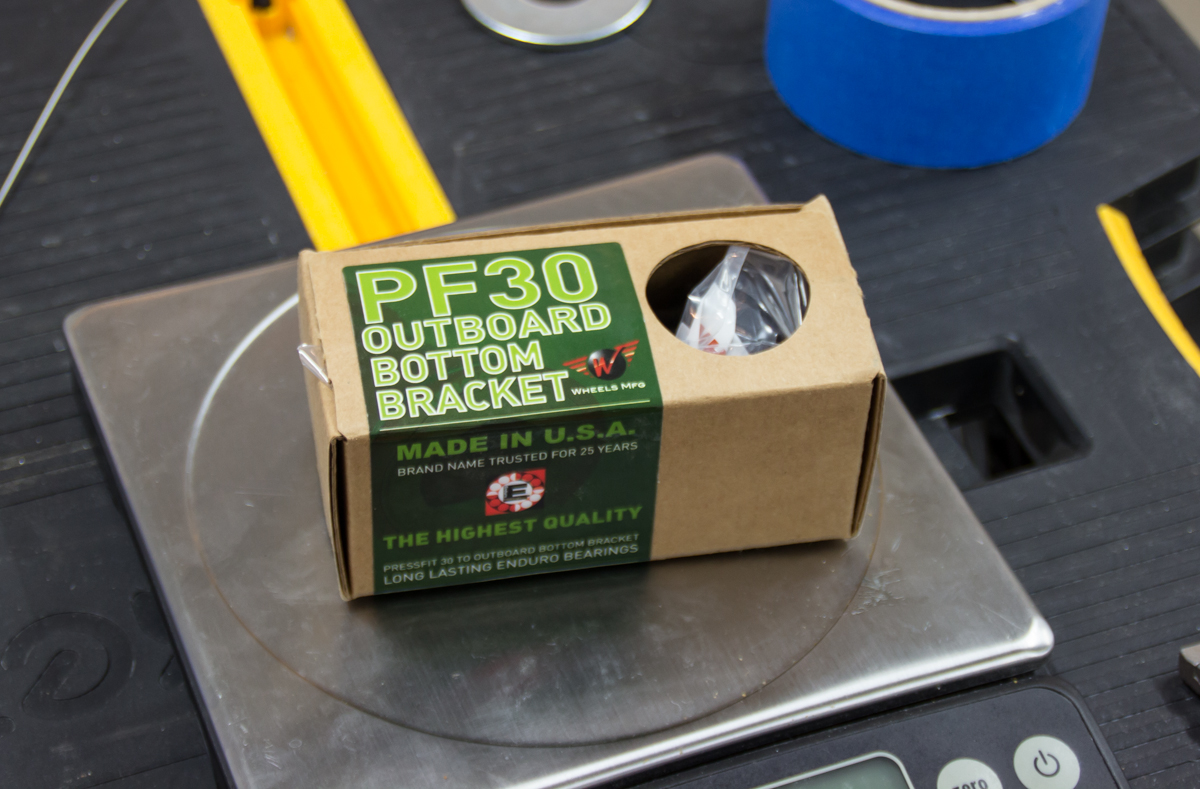
Sadly, this solution is double the weight of the one I removed, but adapters would've added weight too.

I constructed my own "press" from parts at the local hardware store.

Wheels Mfg. recommends 100% teflon lubricant for installation in carbon. The Finish Line Extreme Fluoro is just that.
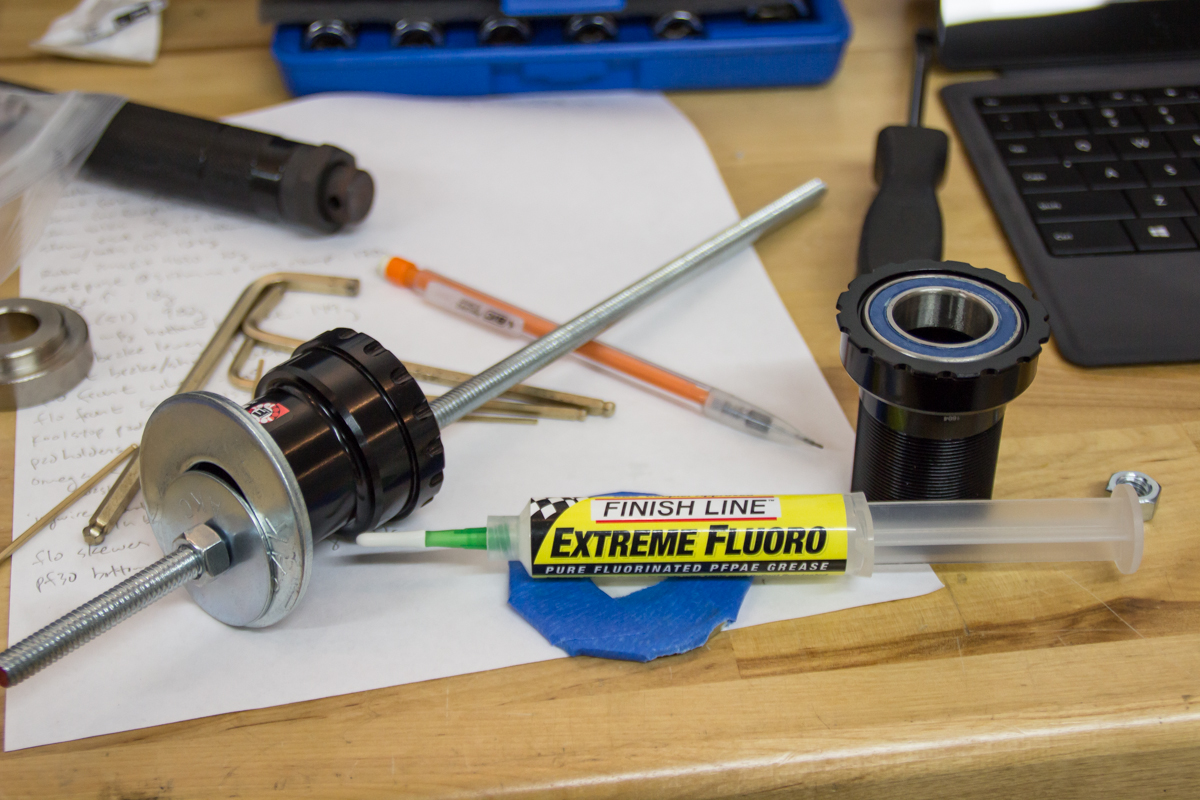
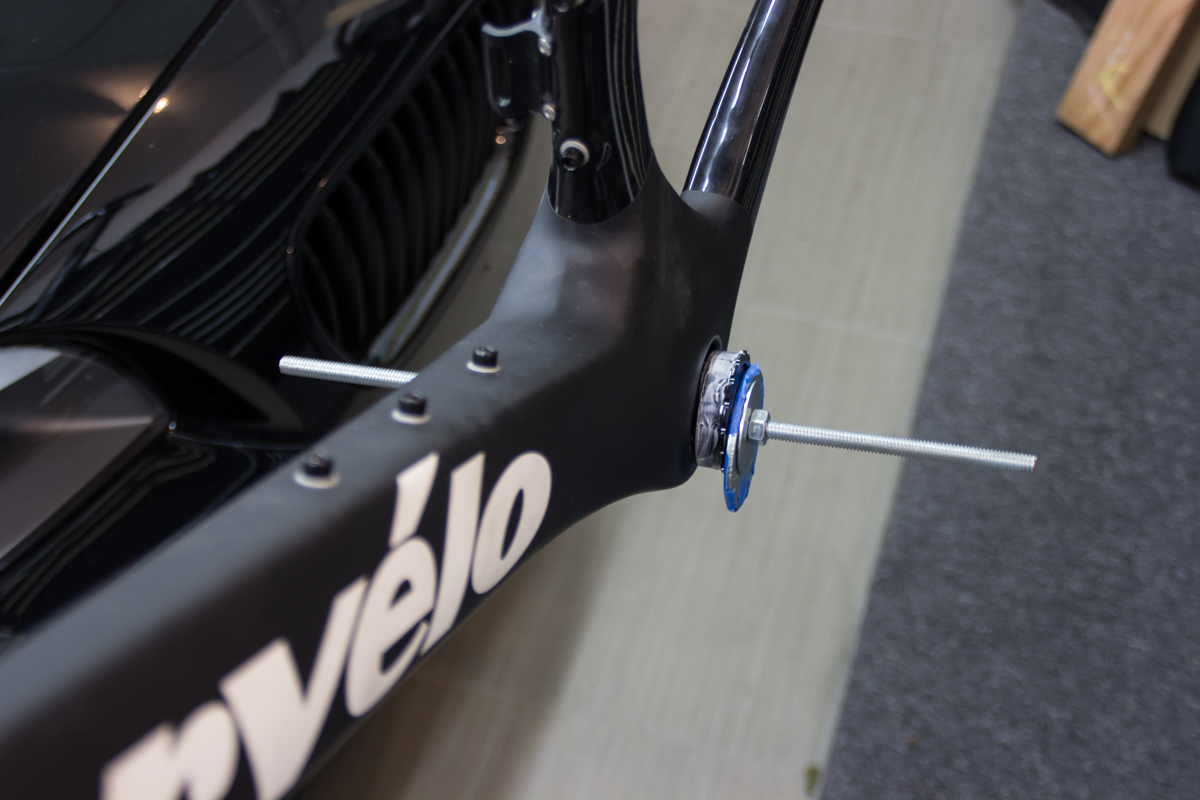
The non-drive side is pressed in first. It really wanted to go in crooked. A better press would have some centering component. I ended up having to move the washer around the circumference of the BB to little by little press it in evenly. Move. Press. Move. Press. etc.
The drive side threads into the body of the non-drive side.

Park Tool BBT-29 is the proper size wrench. It is notably not the same as the Shimano HollowtechII size. The Wheels Mfg. installation instructions call for 35-50 Nm of torque, but I was unable to measure with this particular wrench, obviously. There are a few other solutions that allow for the use of a torque wrench. I tightened as much as I felt comfortable, which was certainly less than 35 Nm, but I'd rather not damage the frame. If it proves to not be tight enough, it's trivial to uninstall the crank and re-tighten.
I was greatly relieved to have this part of the build behind me.
On to Part 3!