S5 Build: Part 5: Finish

3 Comments

S5 Build: Part 5: Finish

Time to finish up this build! Hopefully you read:

Part 1

Part 2

Part 3

Part 4 

I bought this as a frameset, and the shop forgot to replace the rear derailleur cable stop. I called them and they pulled one for me to come pick up. So I went to pick it up.

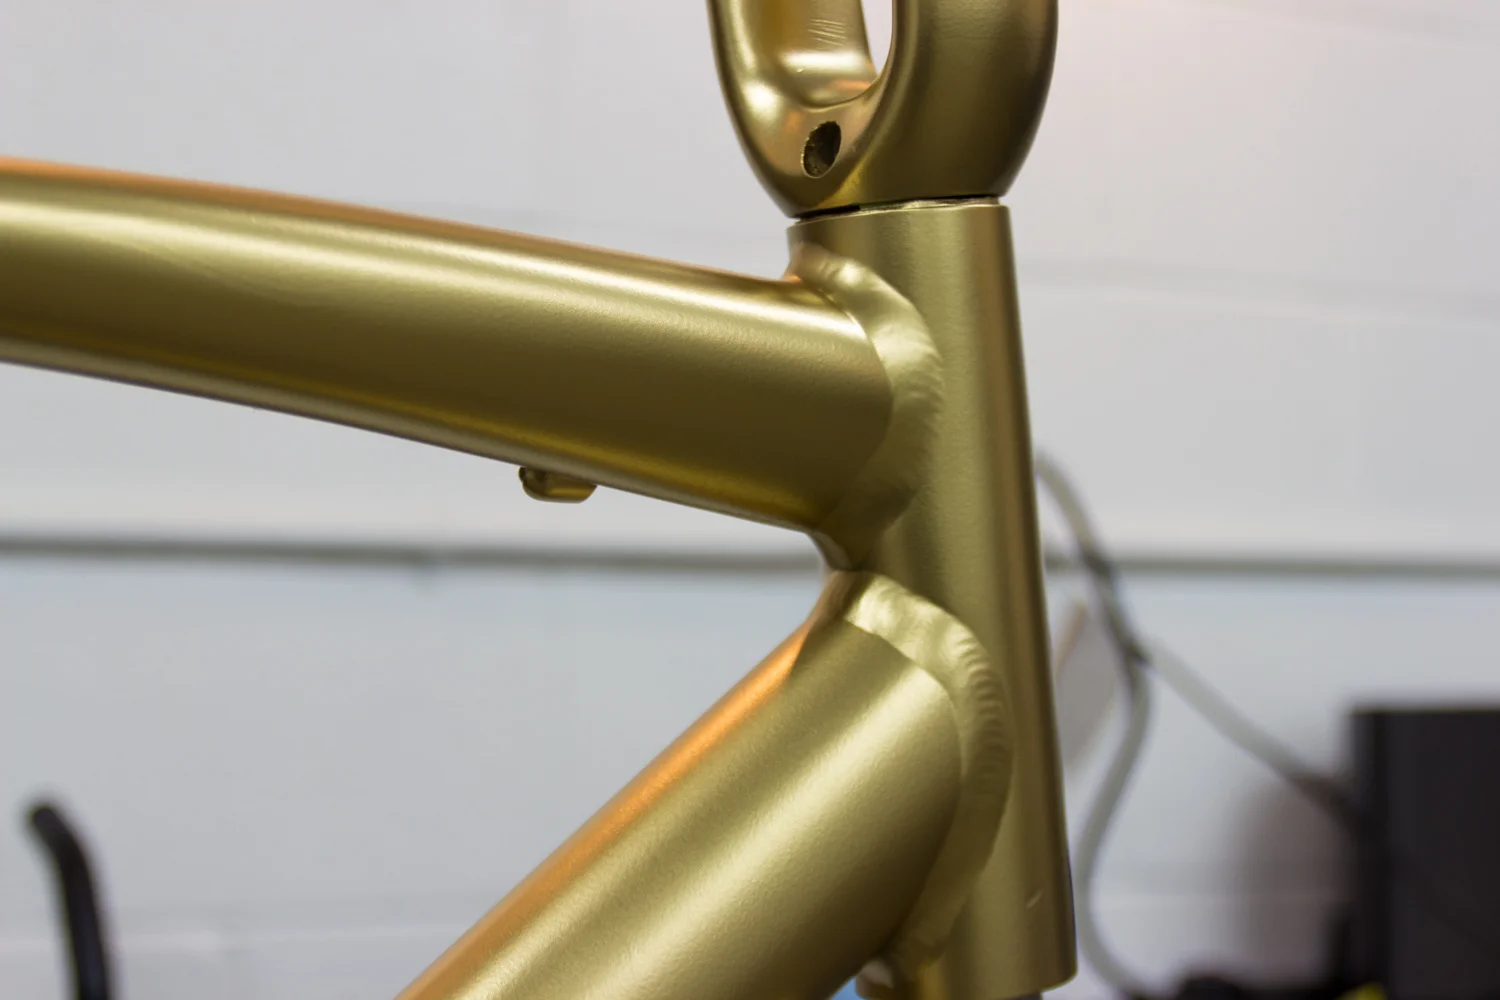
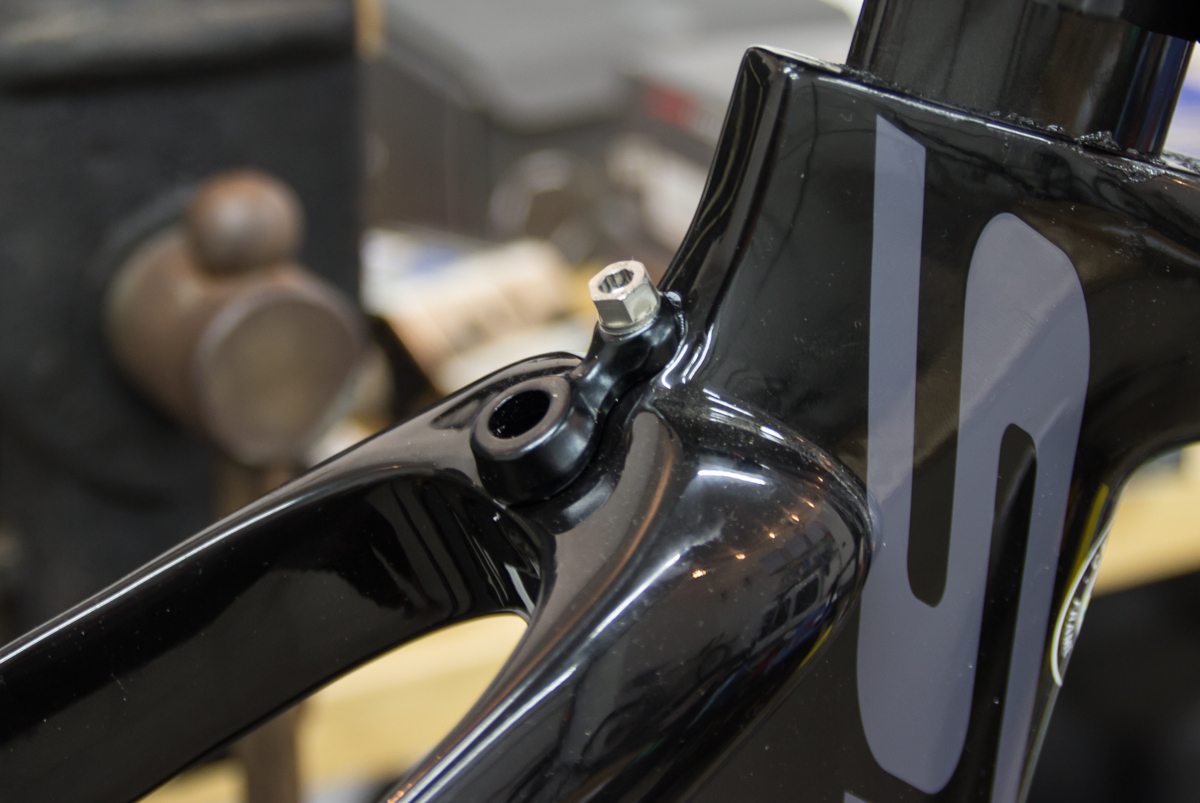
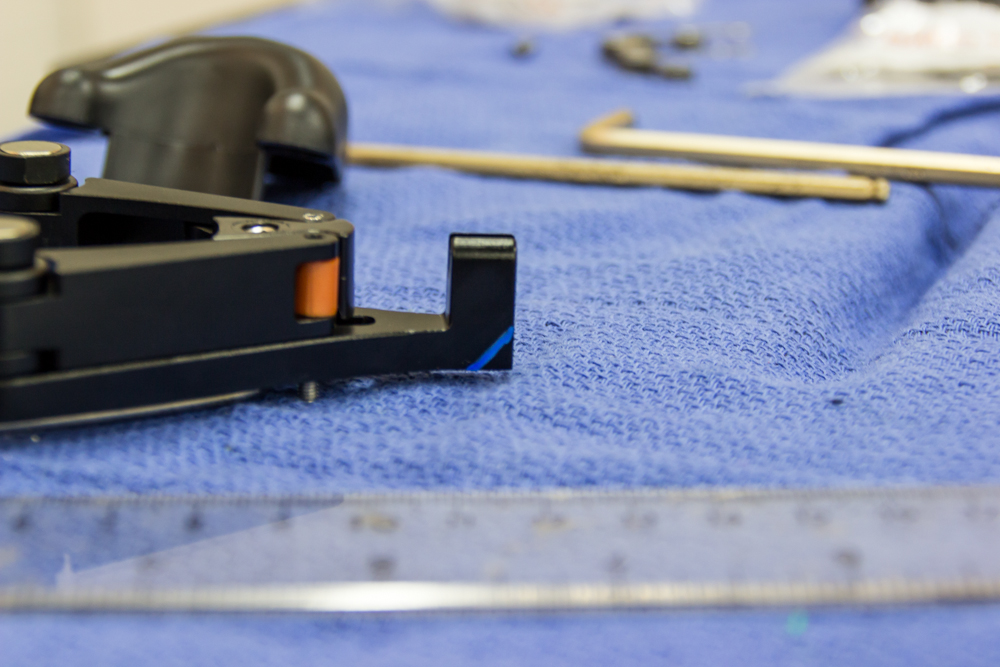
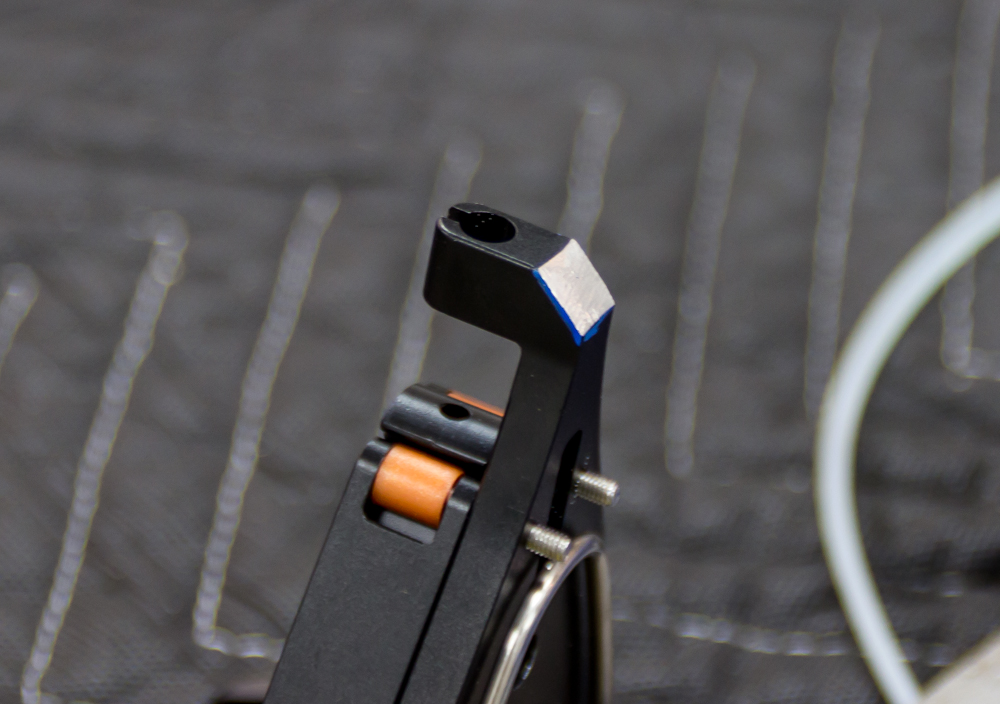
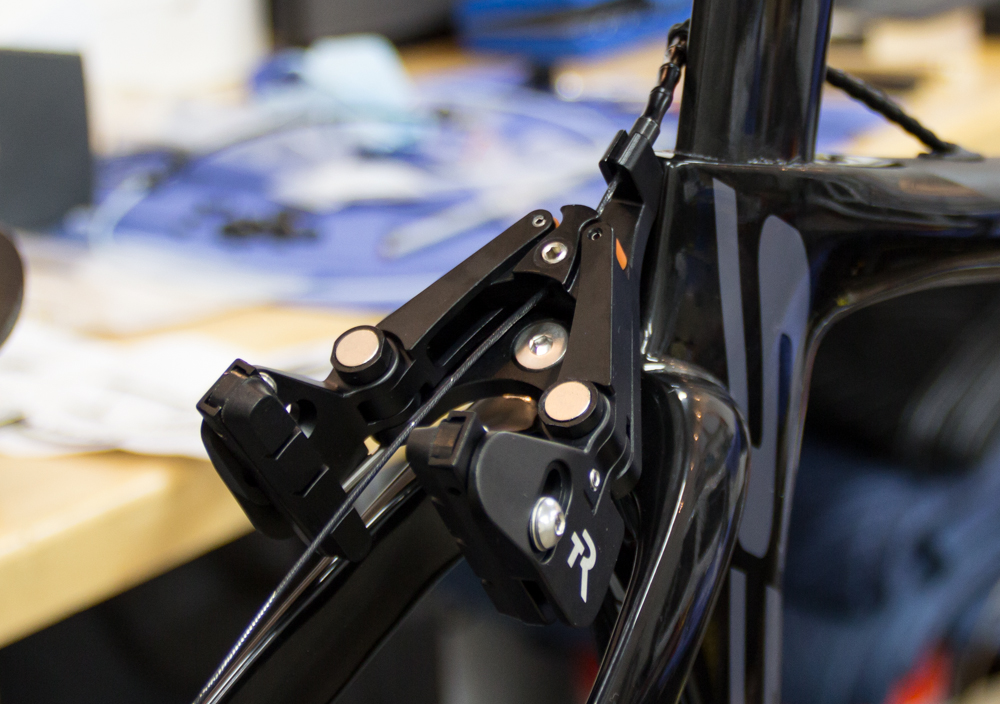
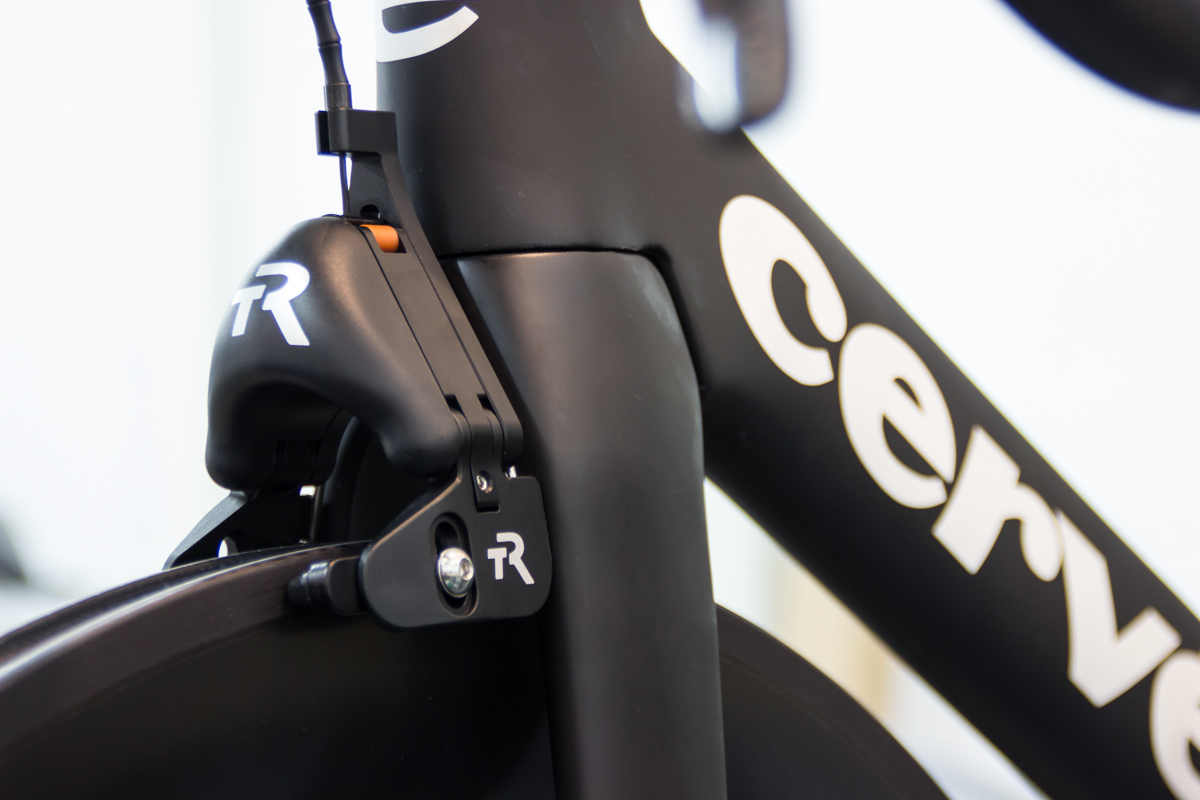
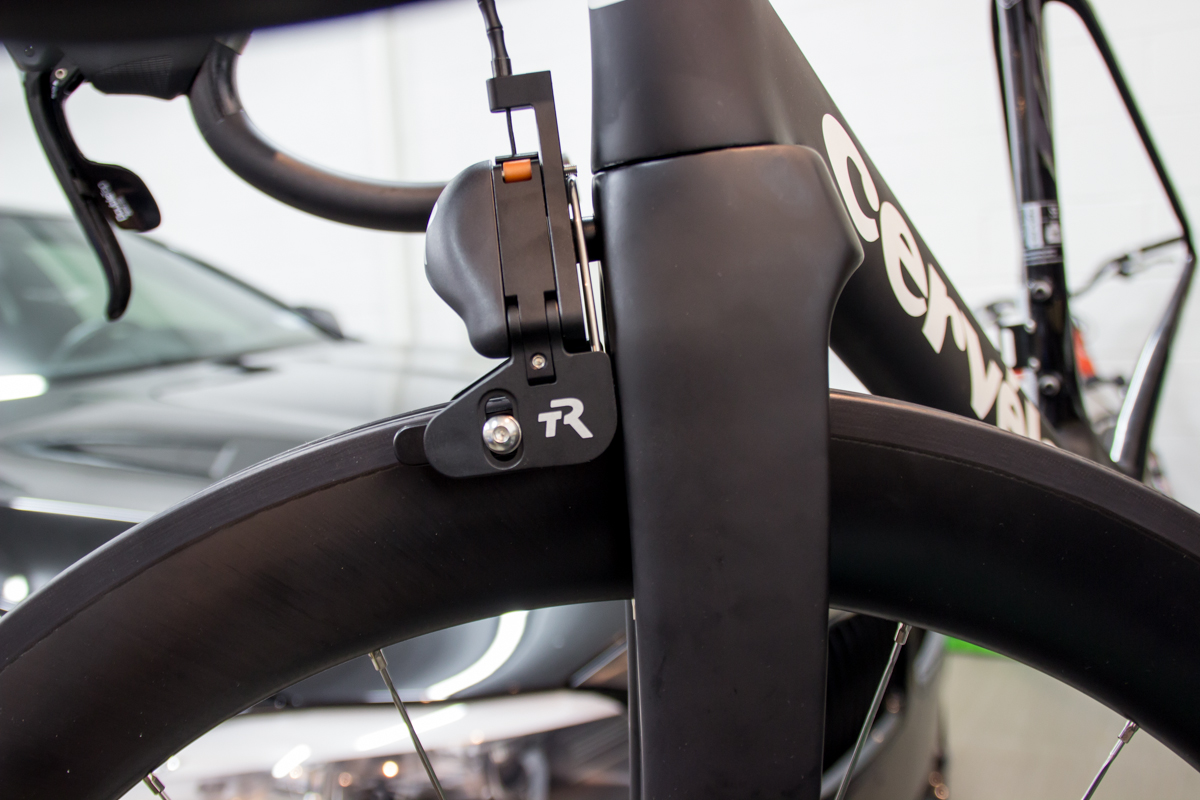
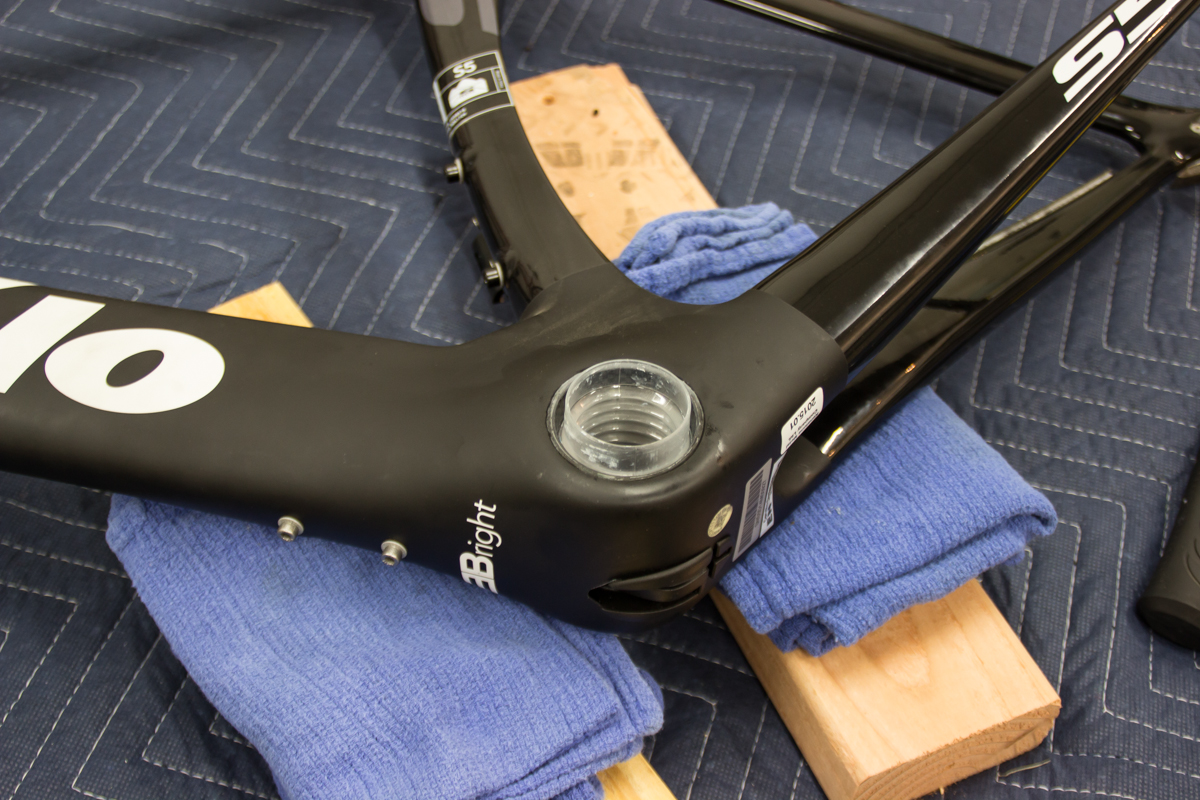
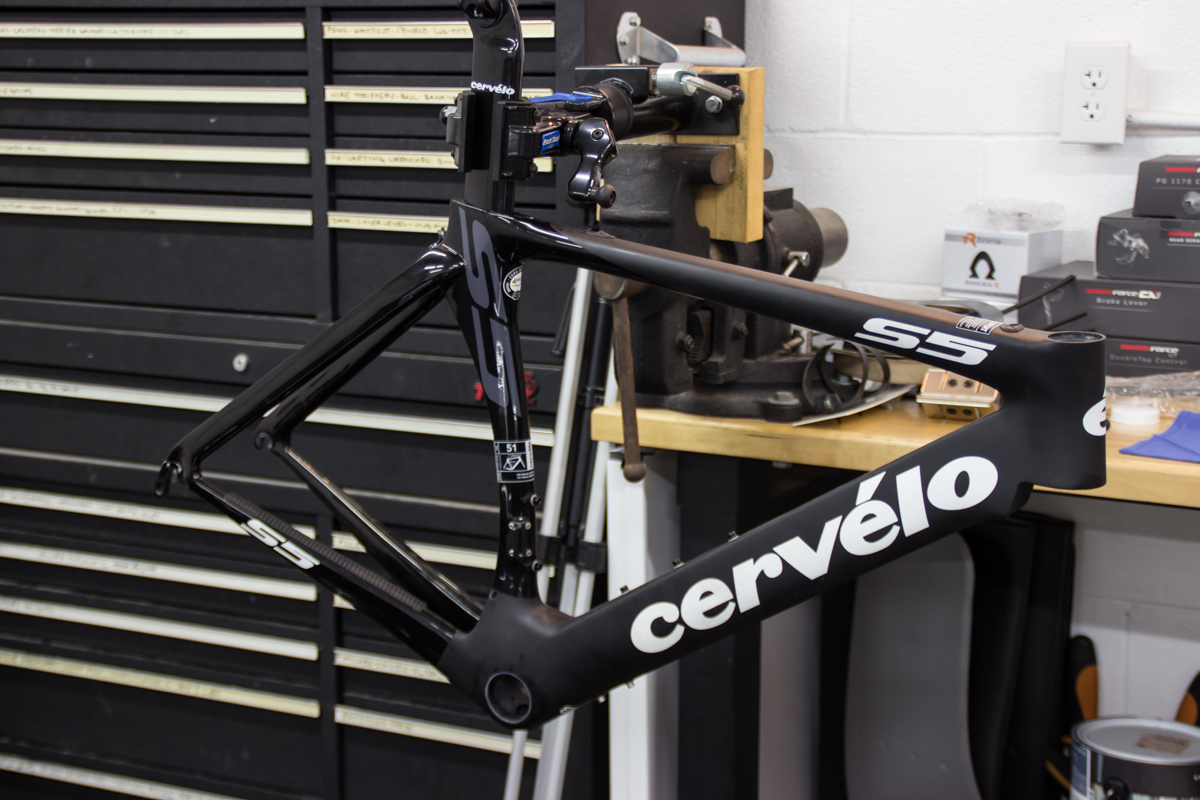
Unfortunately, they gave me the piece below on the right. That's a cable stop for the rear brakes on the top tube. I needed the piece on the left for the rear derailleur shift cable. I didn't realize this until I returned home and tried to stick the brake stop in the derailleur hole. 

I was sad. The shop is 20 miles away. Nevertheless, I got back in the car and drove back out again and got the right part. Honestly, I was just glad they had the correct piece at all.

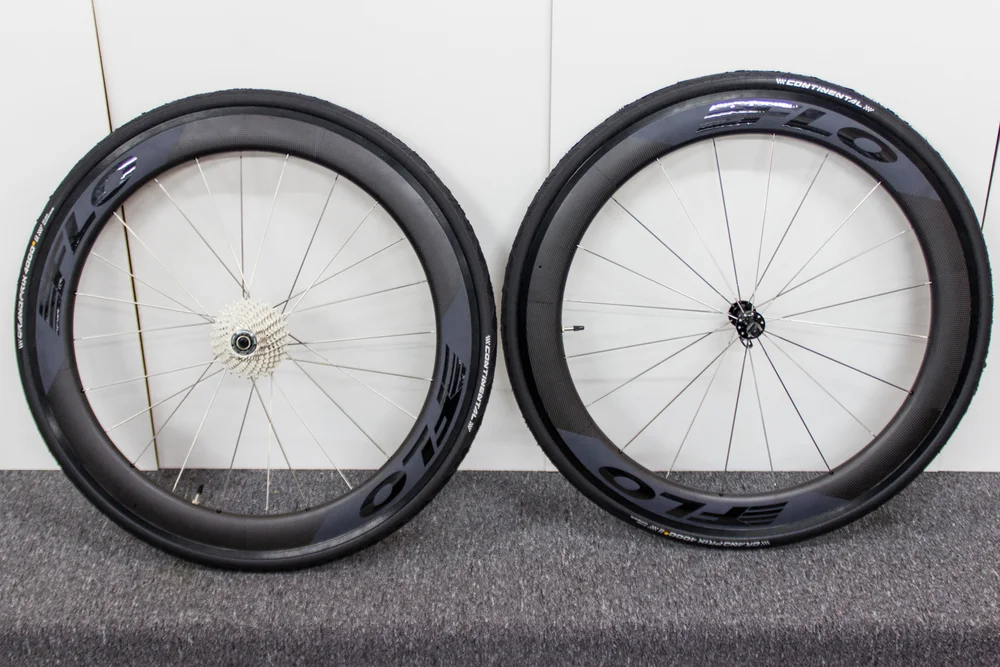
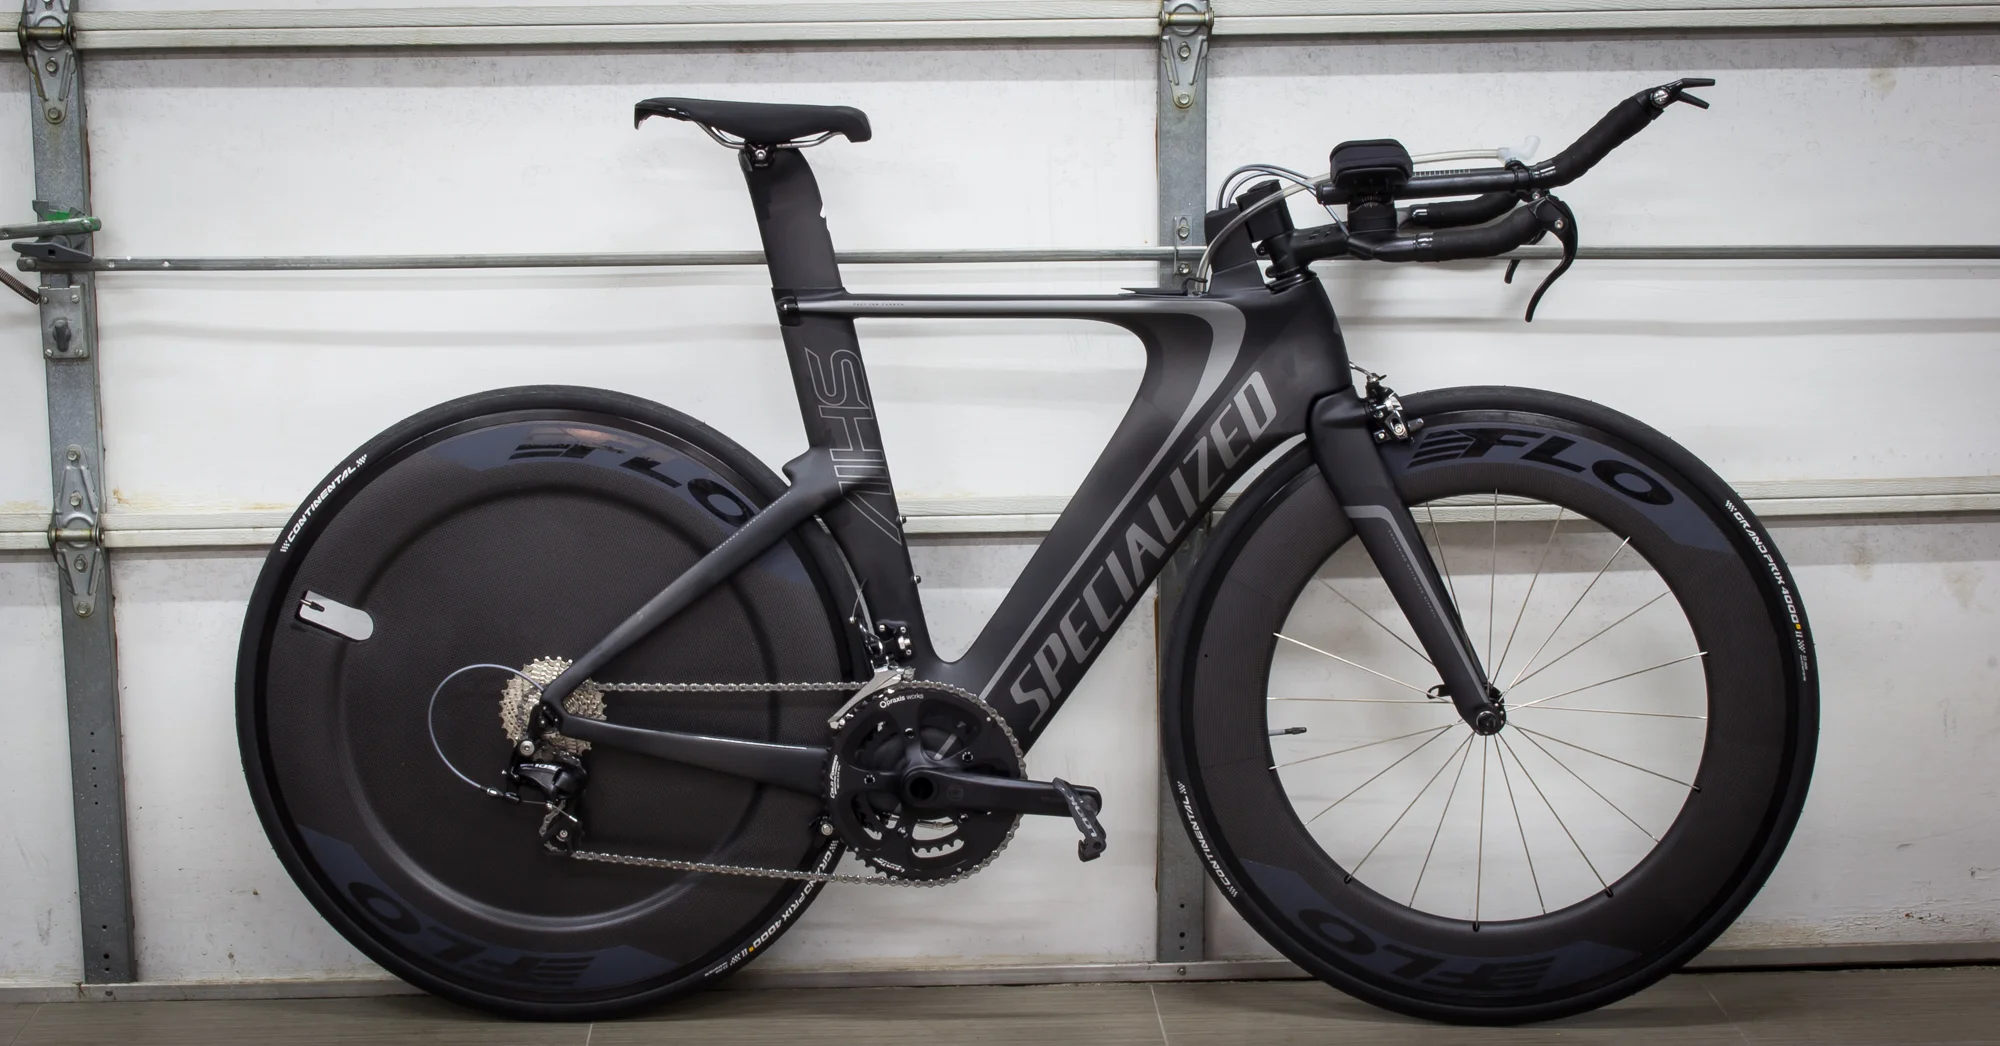
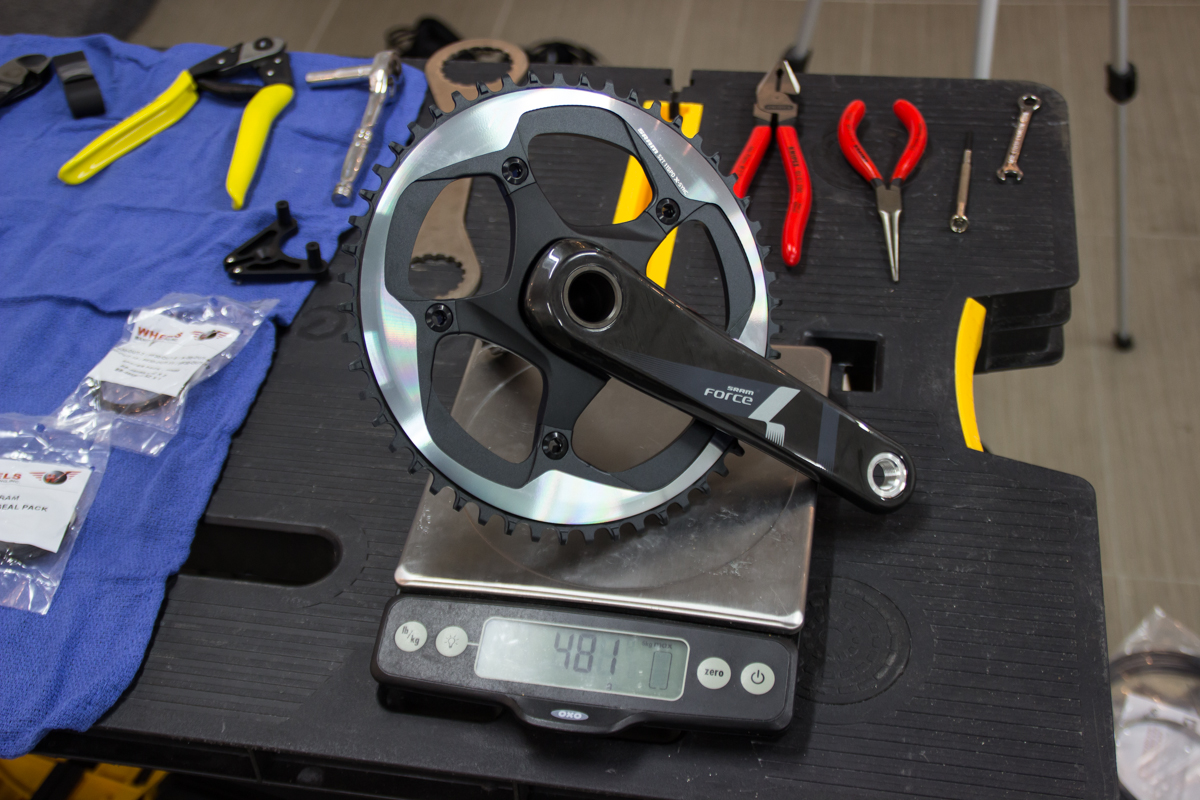
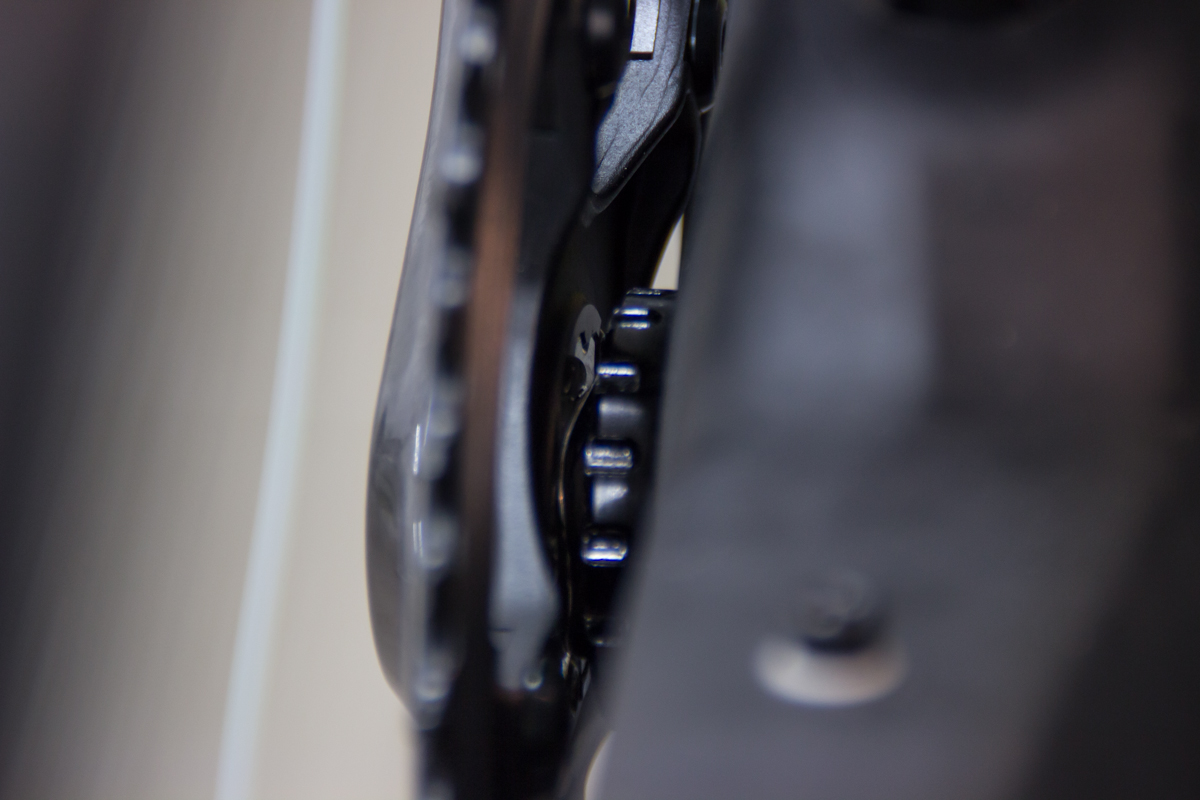
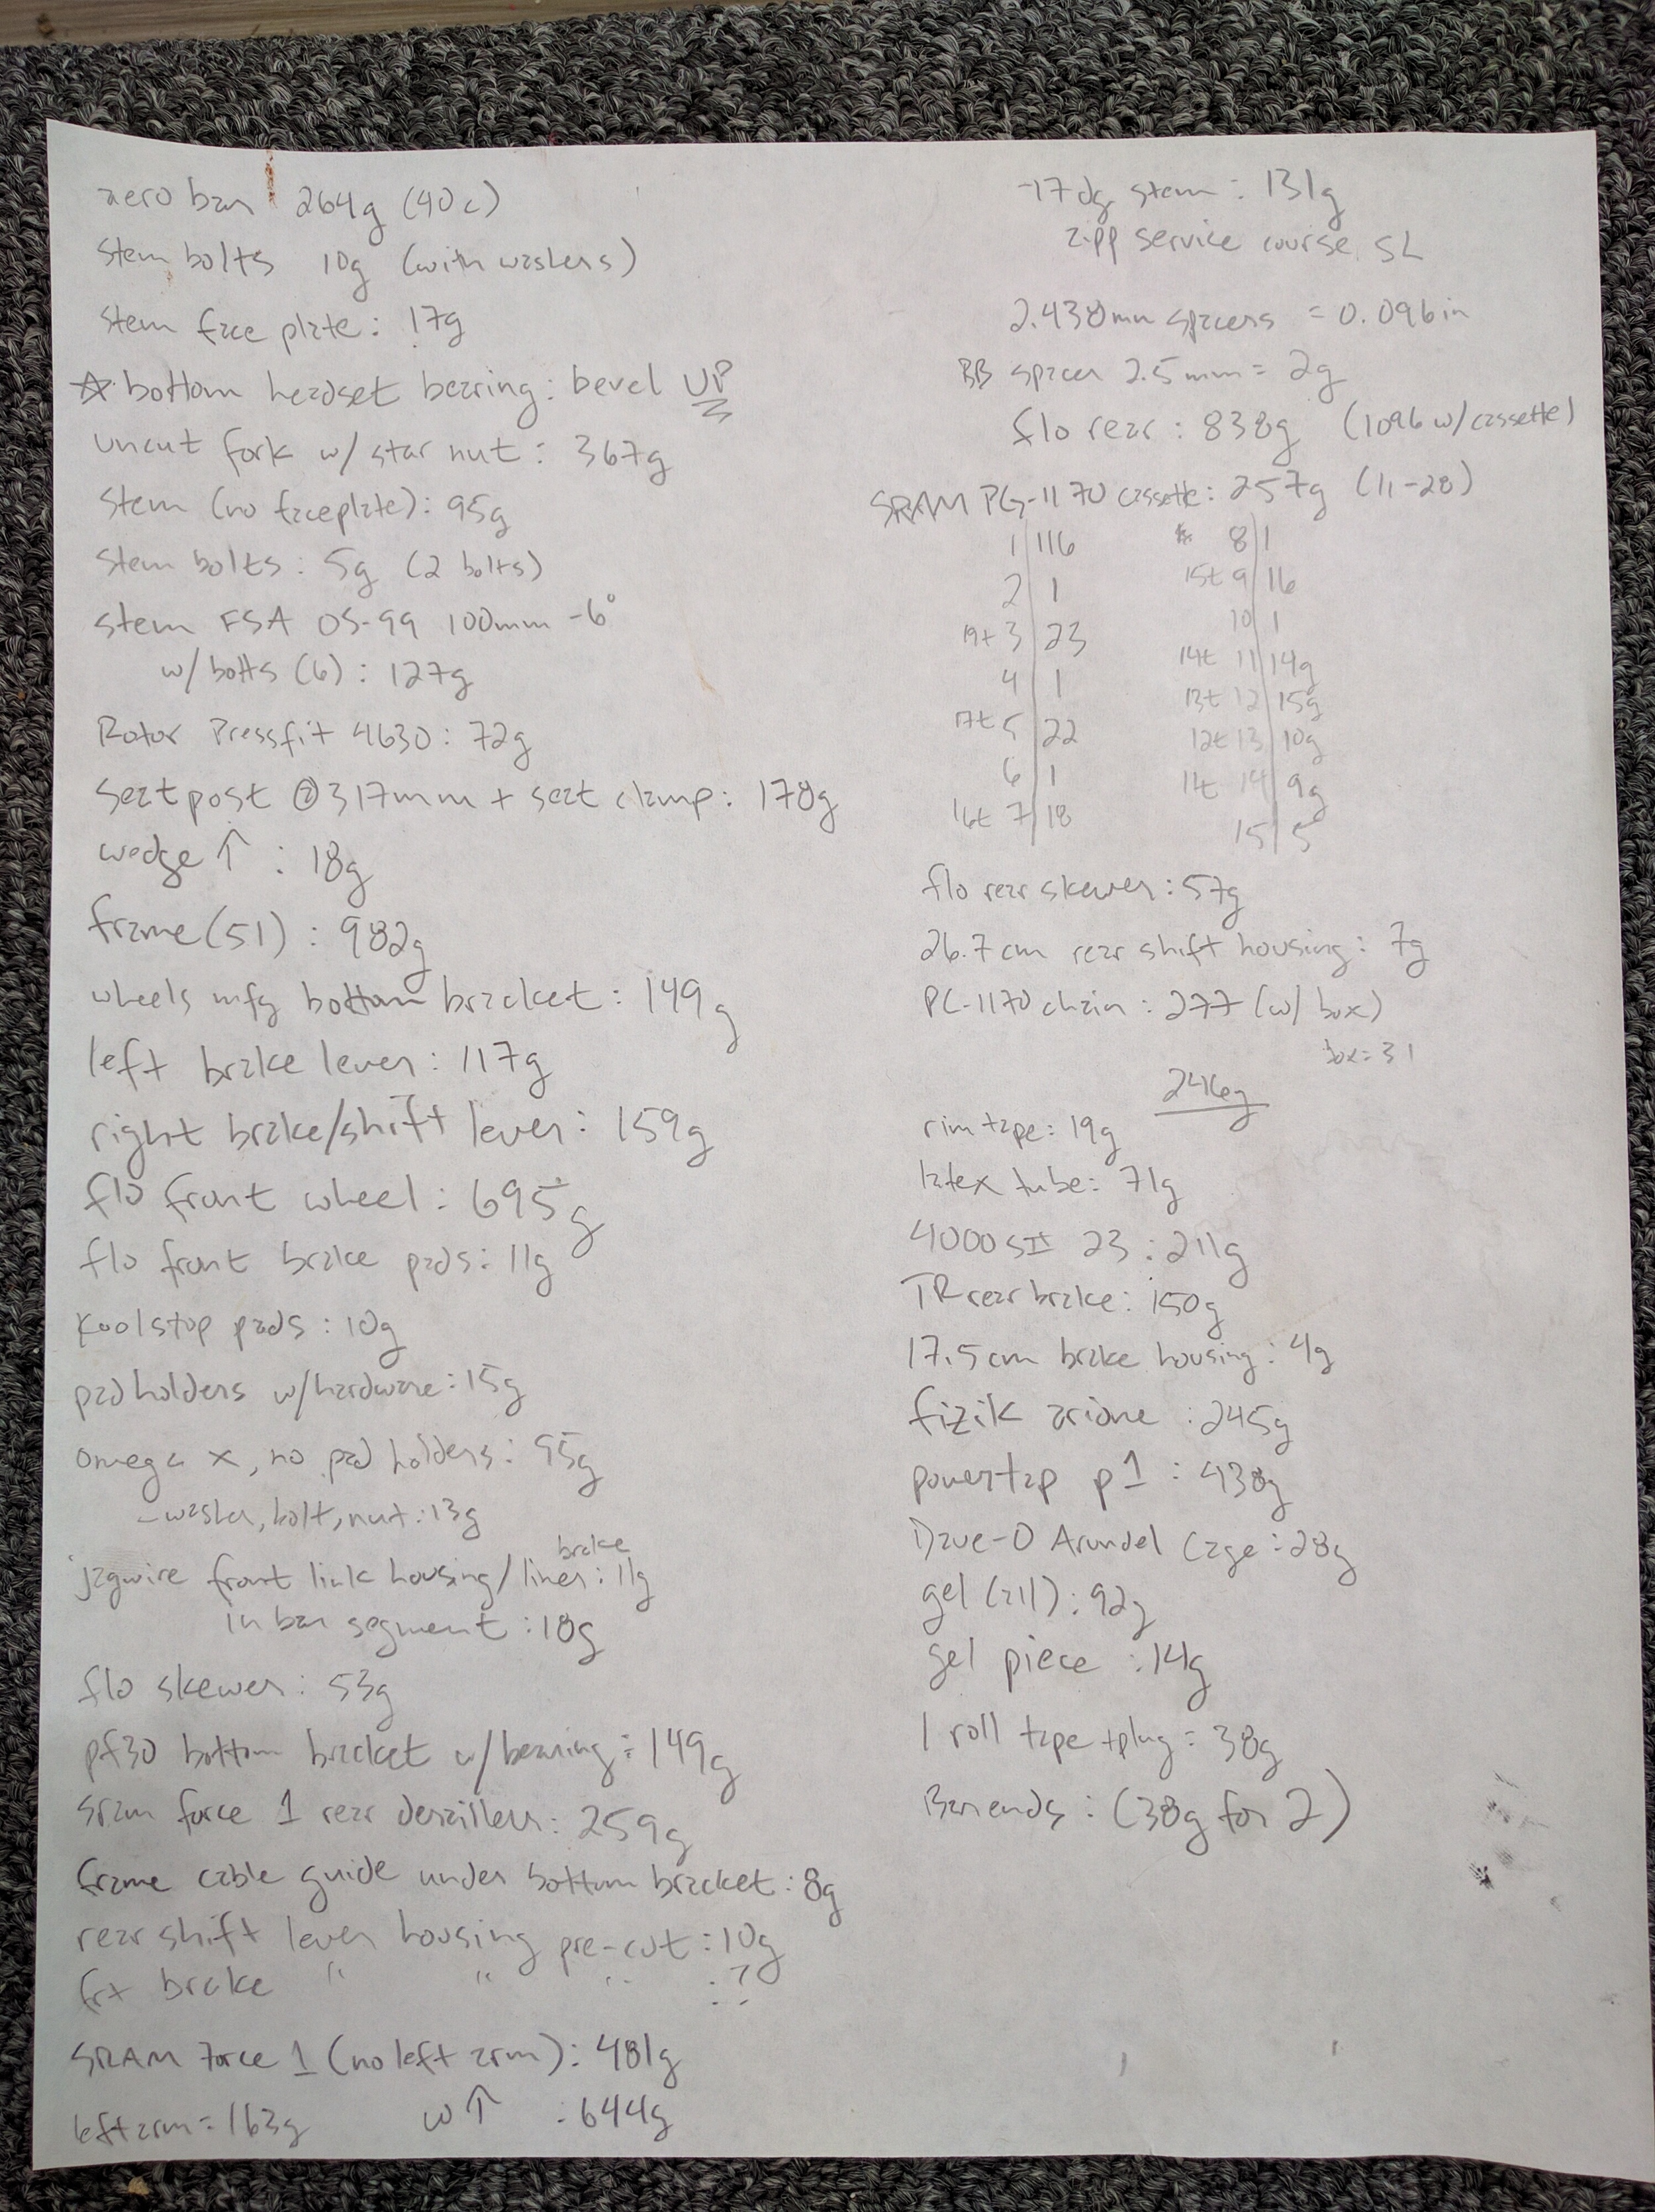
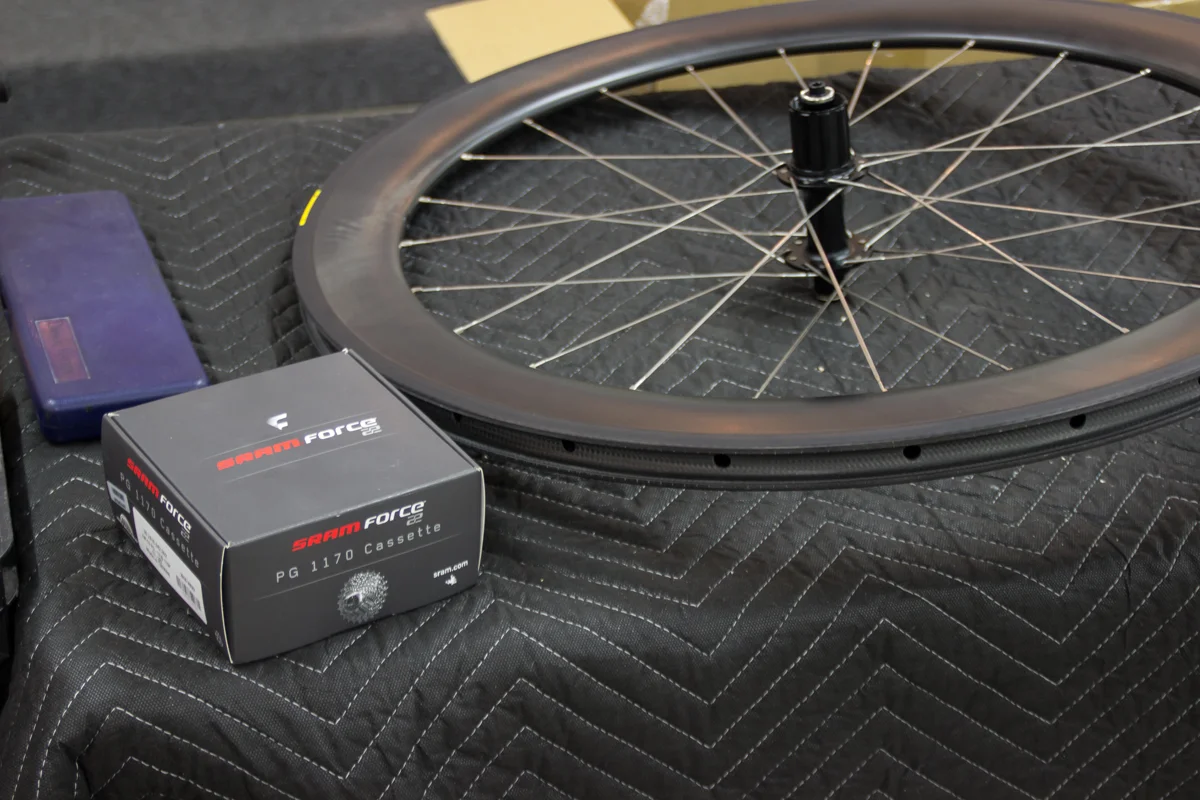
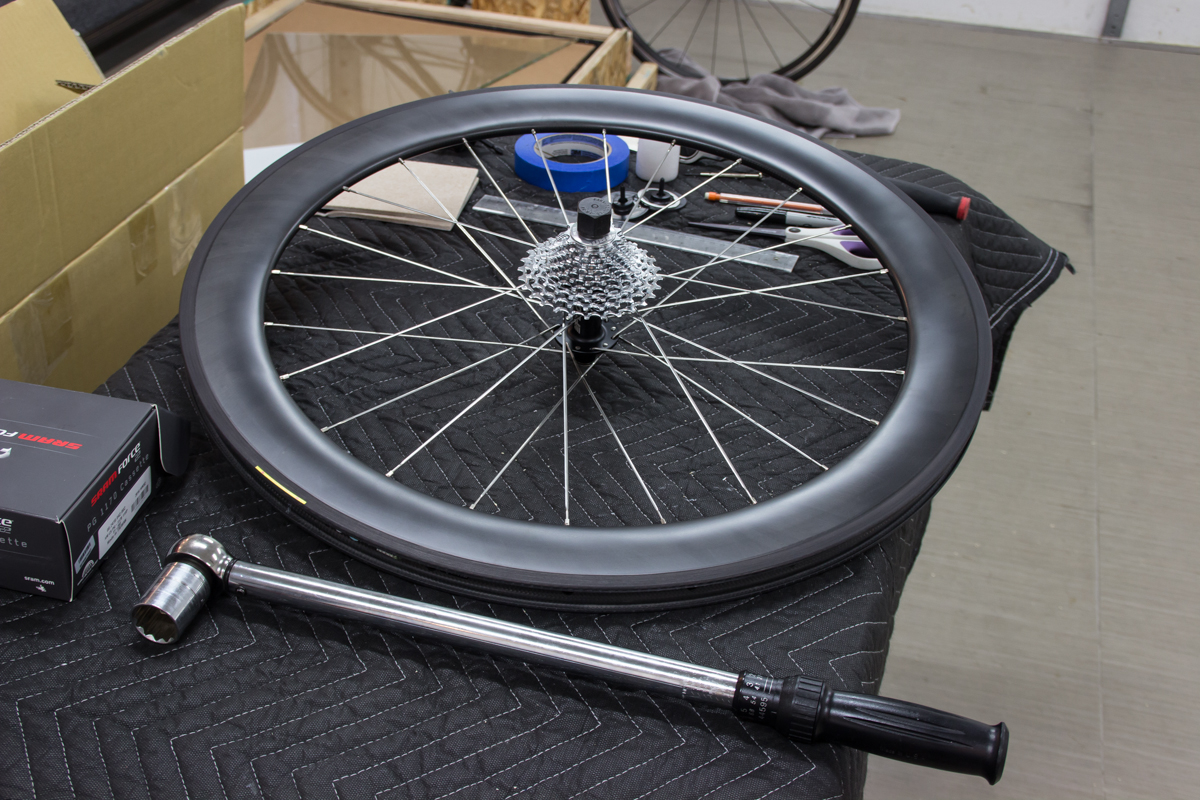
Flo 60 Carbon Clincher for the rear. 11-spd SRAM PG-1170 11-28t cassette.

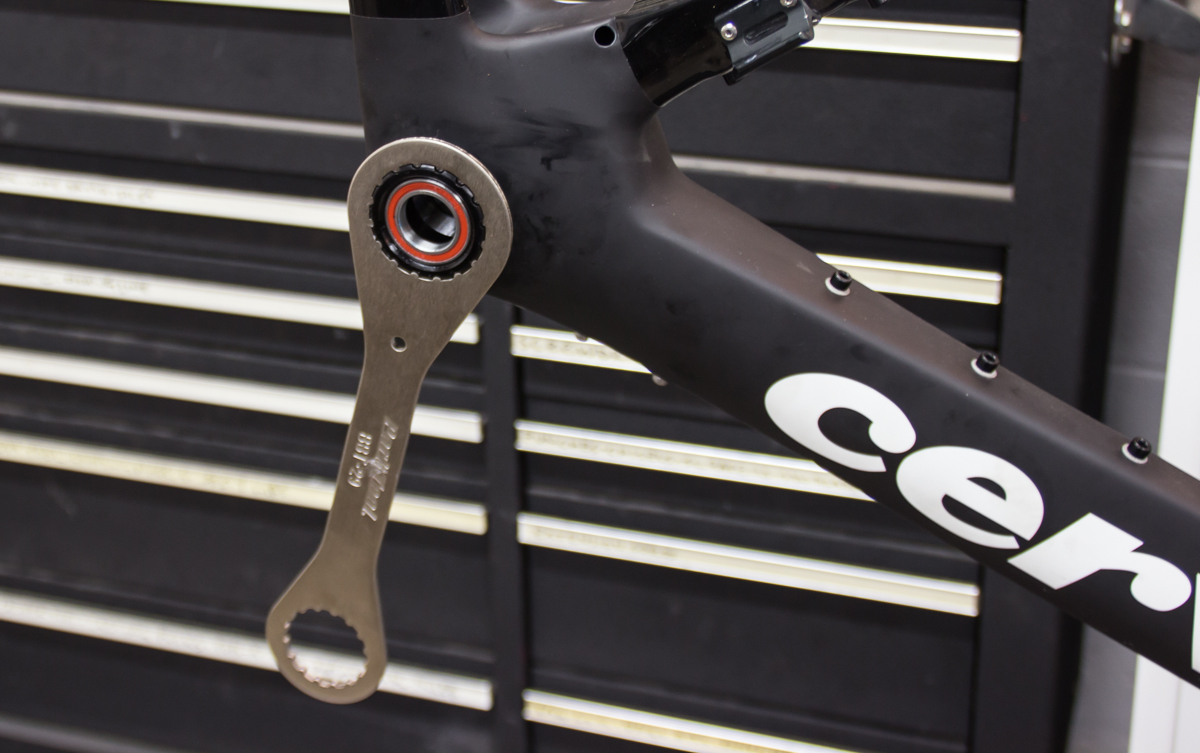
SRAM PC-1170 chain. The method for sizing the chain is a bit different from standard, to account for a larger range in the cassette.

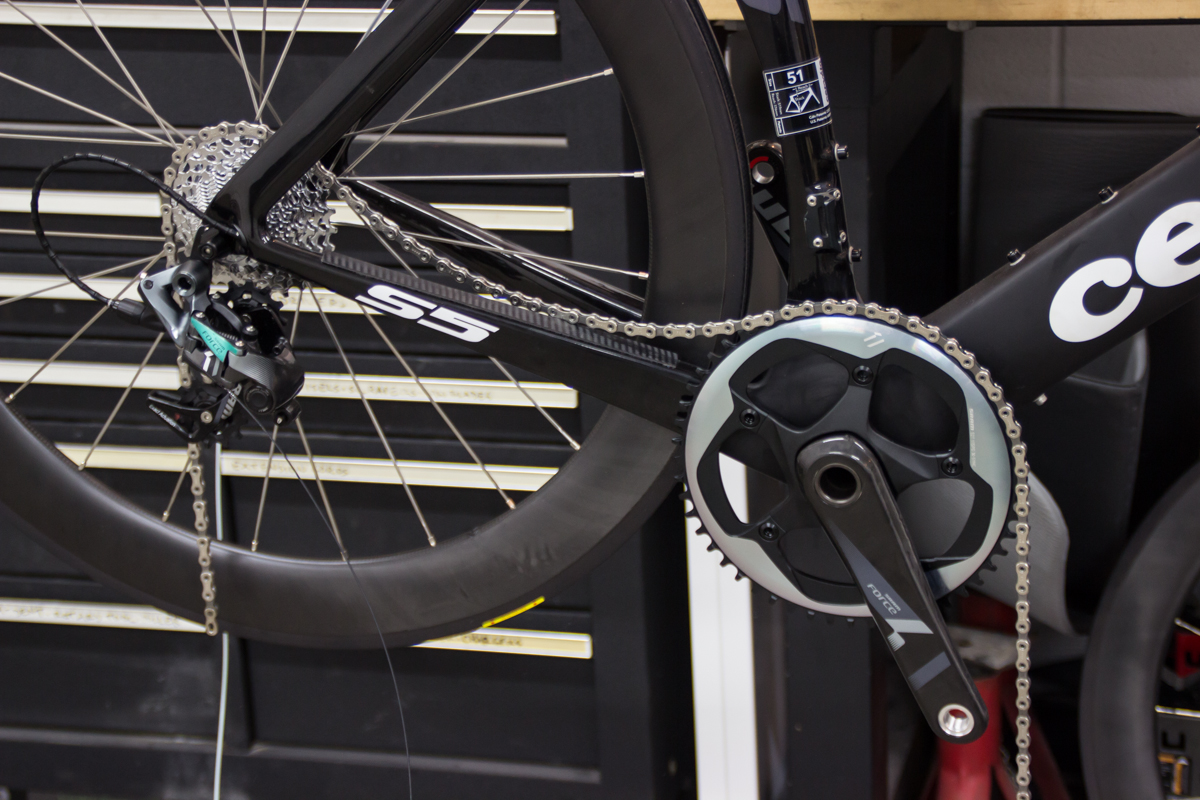
Flo includes their own proprietary brake pads for use on the carbon rims. Use of other pads voids the warranty.

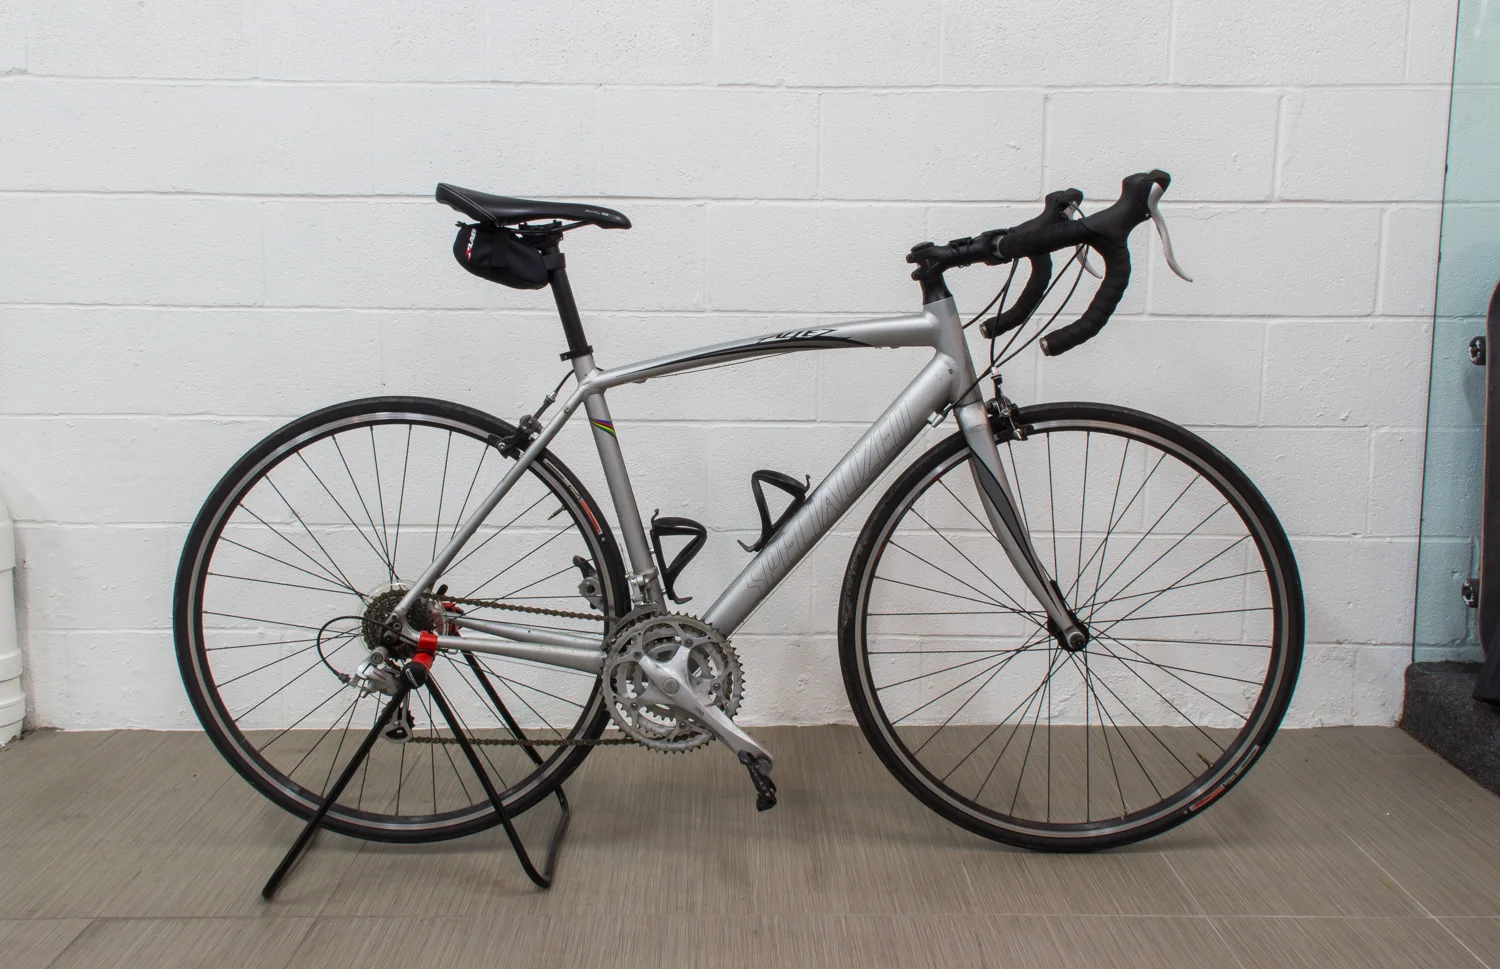
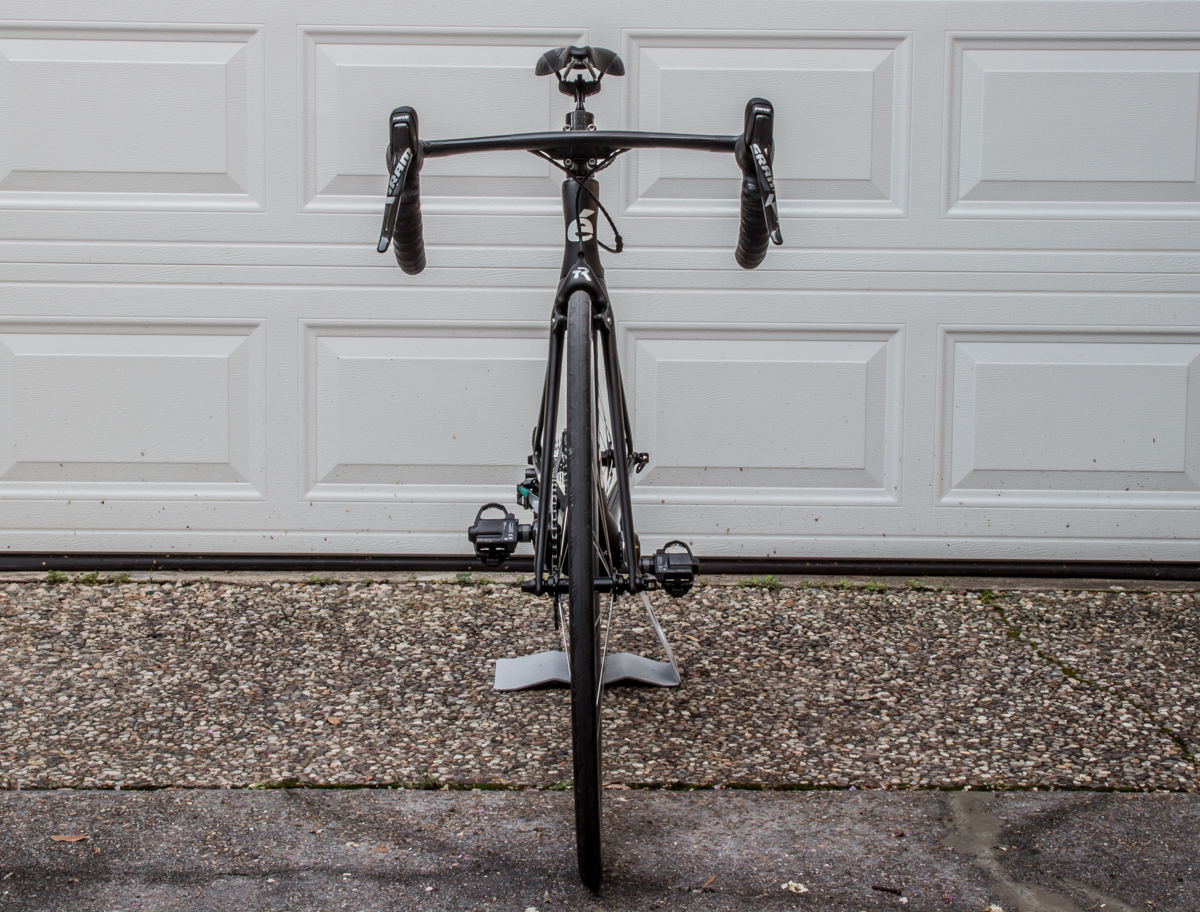
I'm still not sold on the fizik Arione seat, but I'm moving it over from the Allez anyhow.

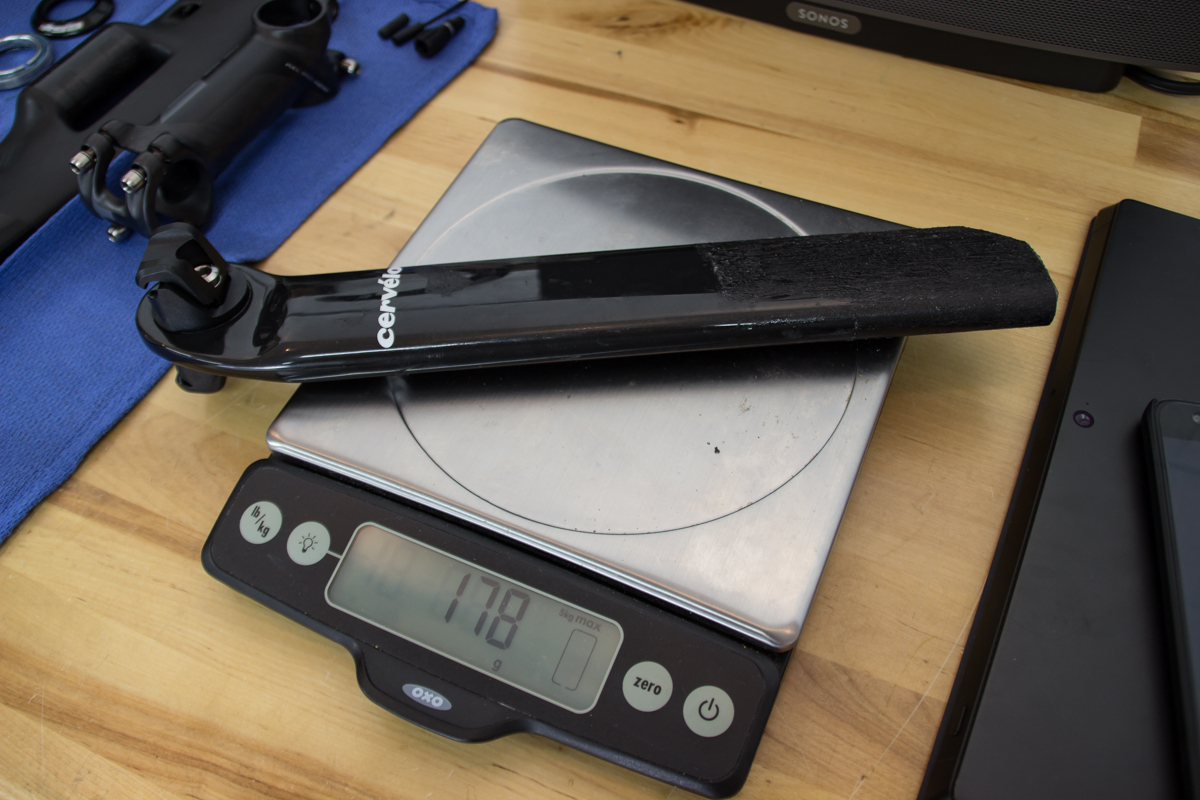
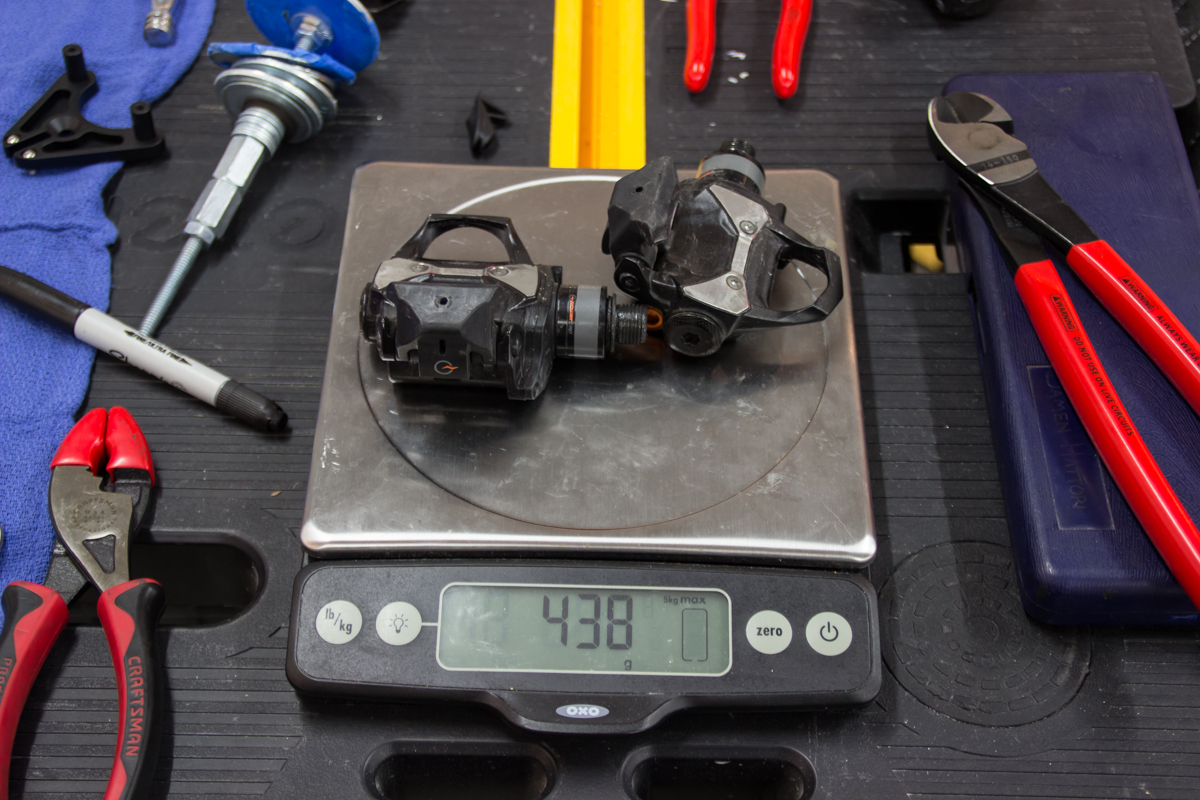
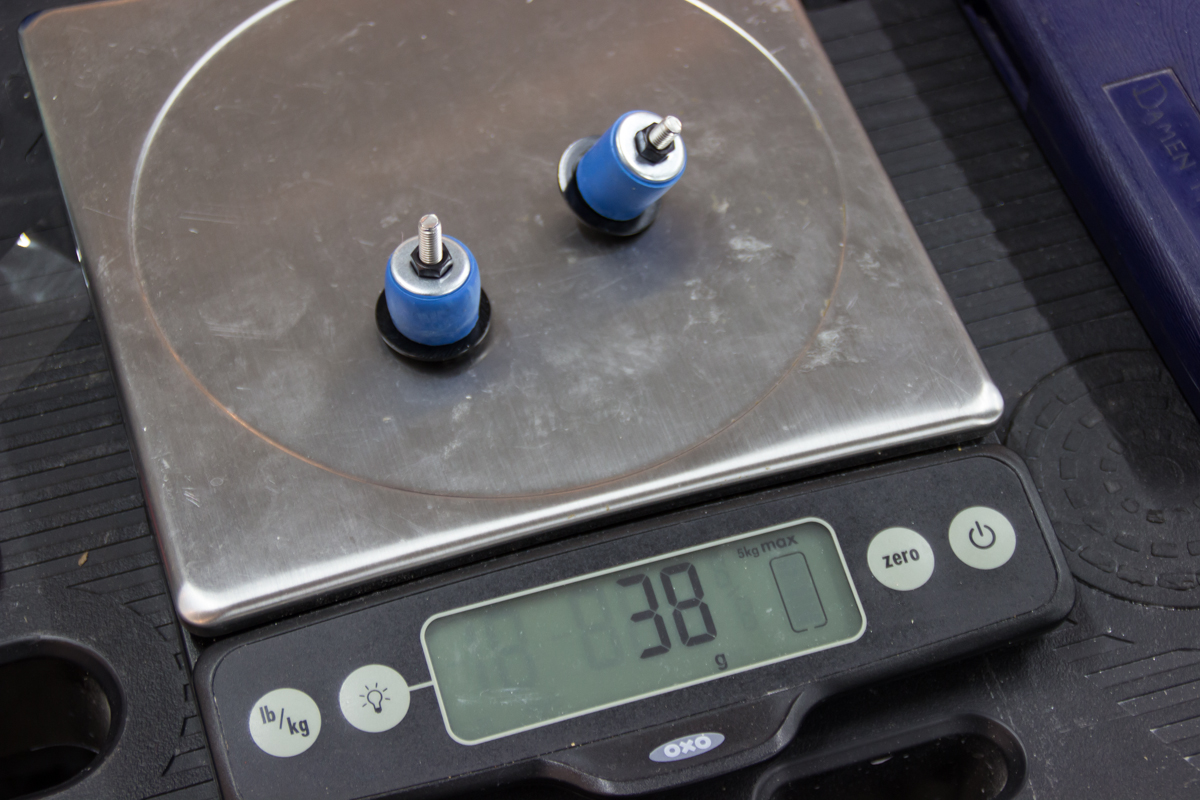
The Powertap P1 pedals are incredibly heavy. The Look Keo Carbon Ti Blade pedals I have are less than 200g for the pair. Good thing the P1's work well and are so convenient.

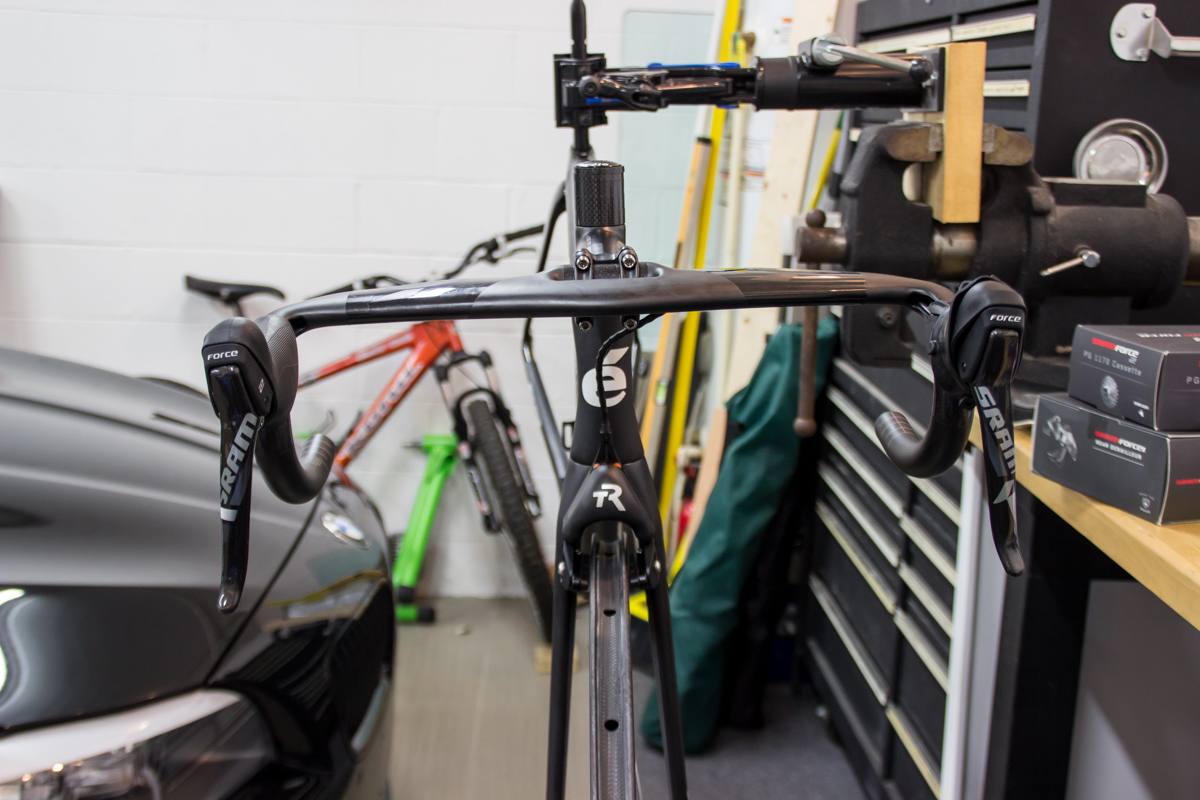
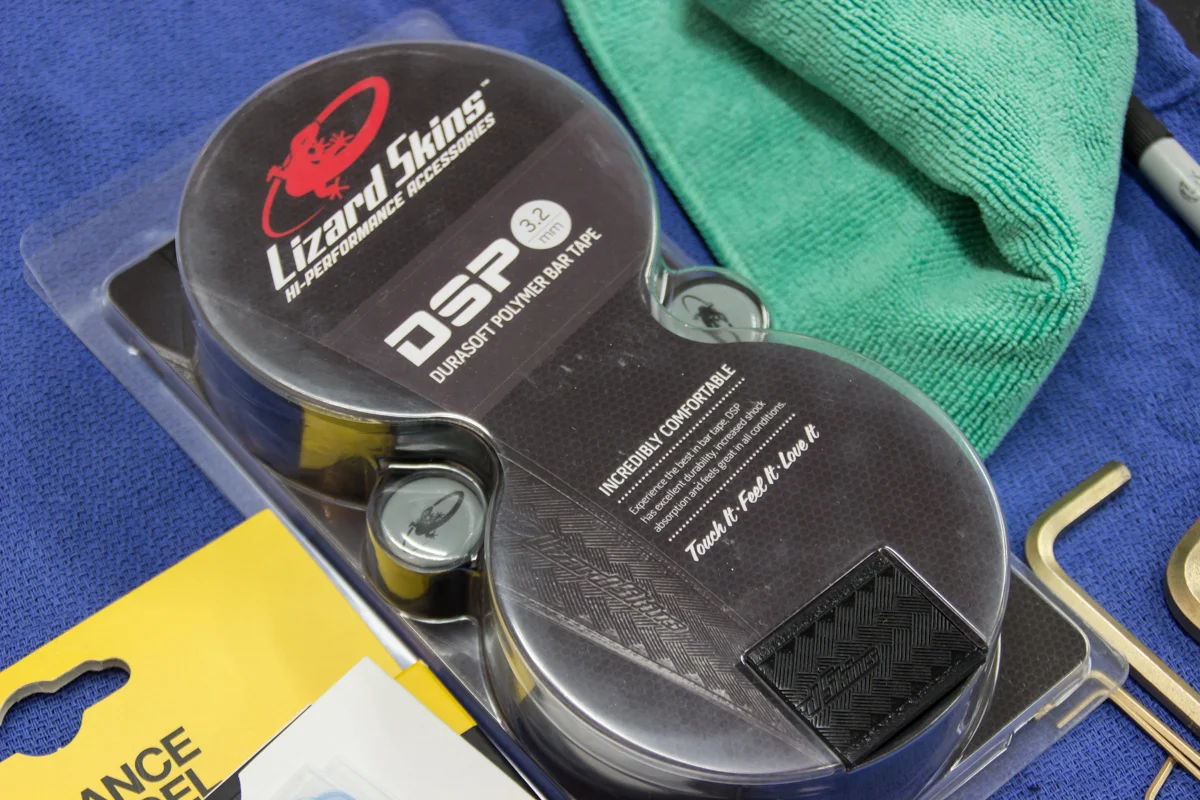
I regularly go on 100 mile rides and generally experience discomfort at some point. I found that adding massive amounts of padding and cushion to the handlebars helps. I use fizik's gel inserts and Lizardskin DSP 3.2. This setup adds a horrific amount of weight, but it's a sacrifice I'm willing to make.

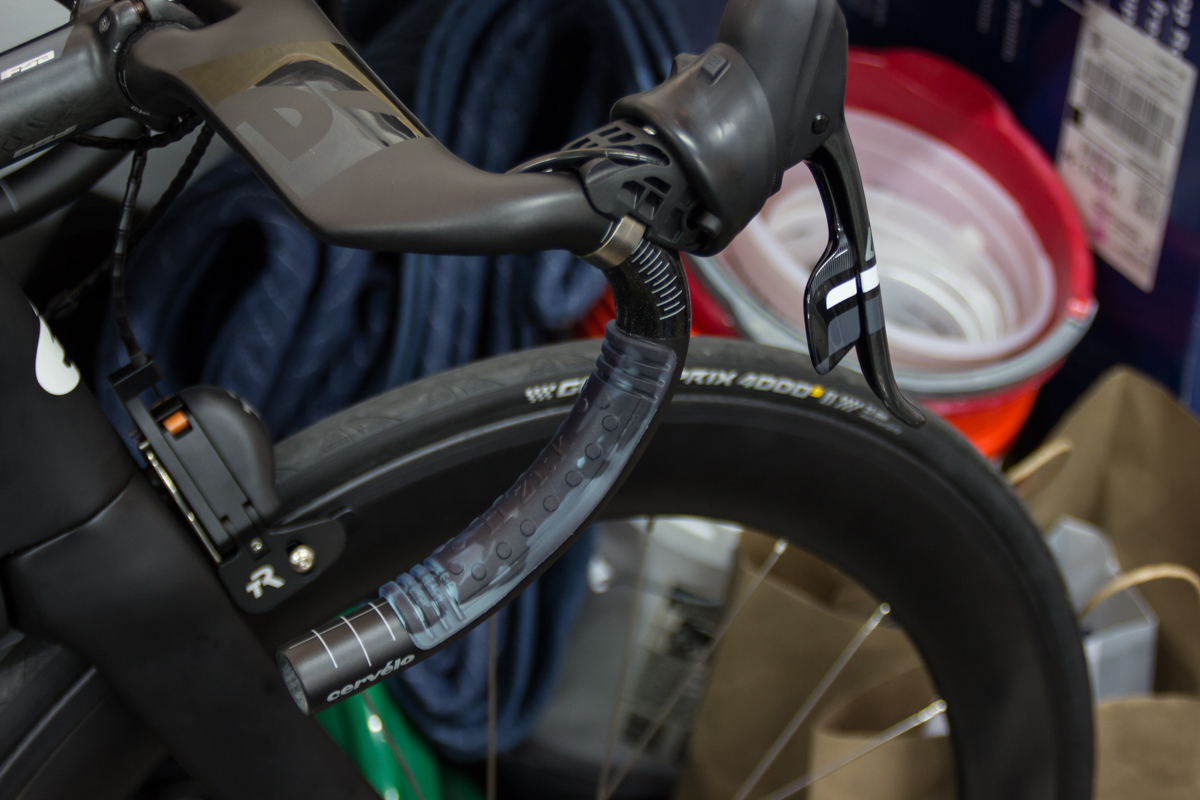
I always have a difficult time with the bar end wrapping on the DSP tape. It's very thick and doesn't stretch. I found that the expanding type bar ends stay in, and the push-in type don't. I'm sure it's due to my poor technique.

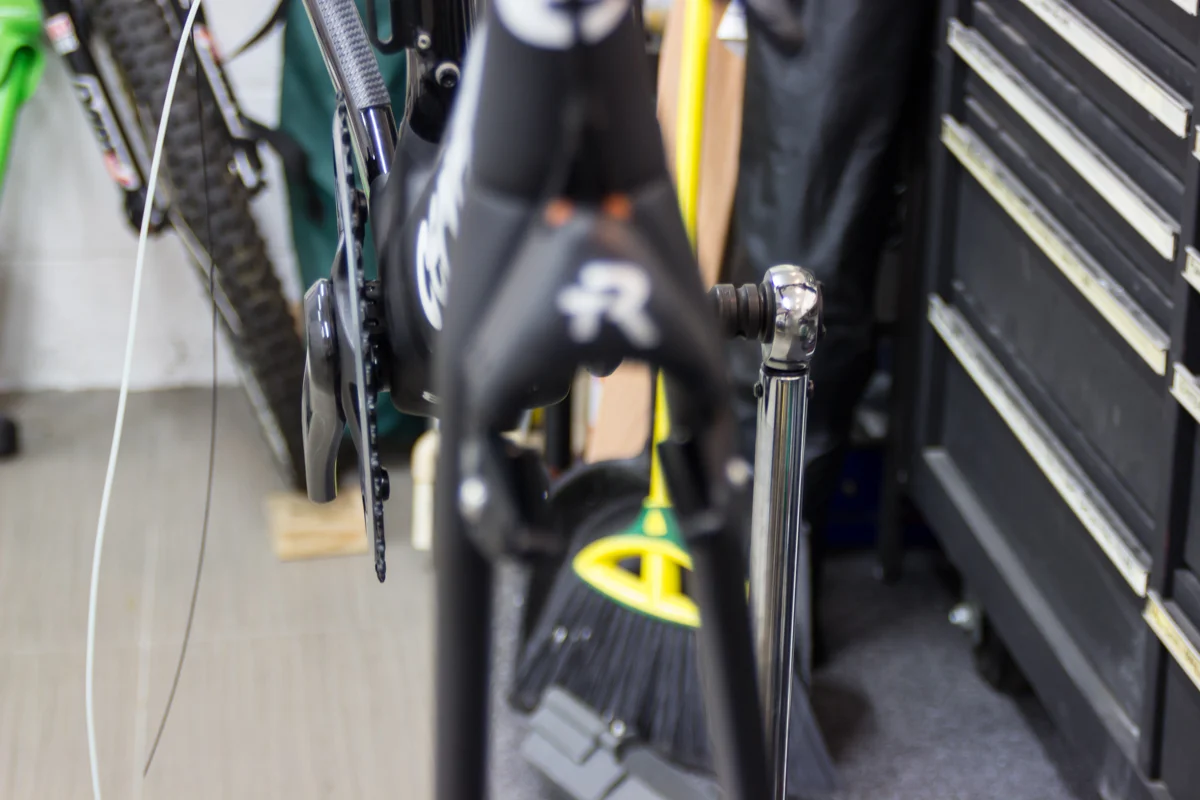
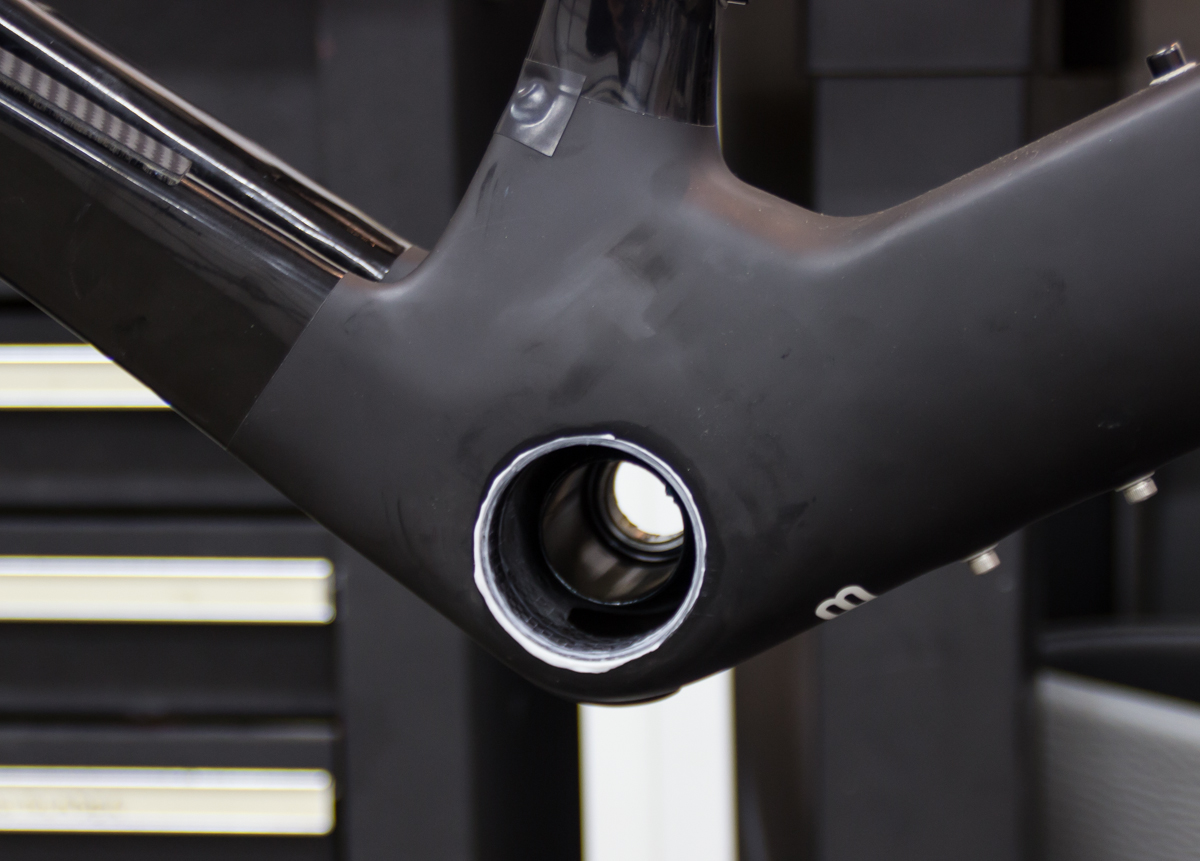
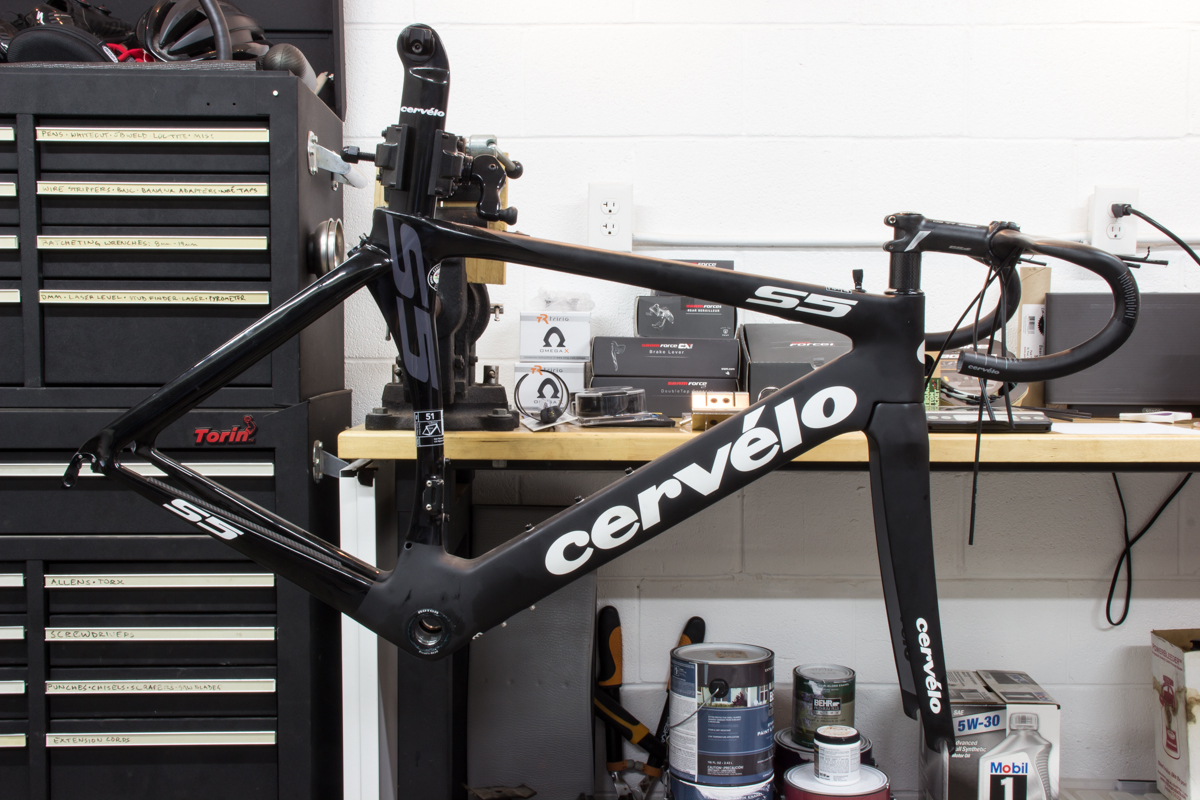
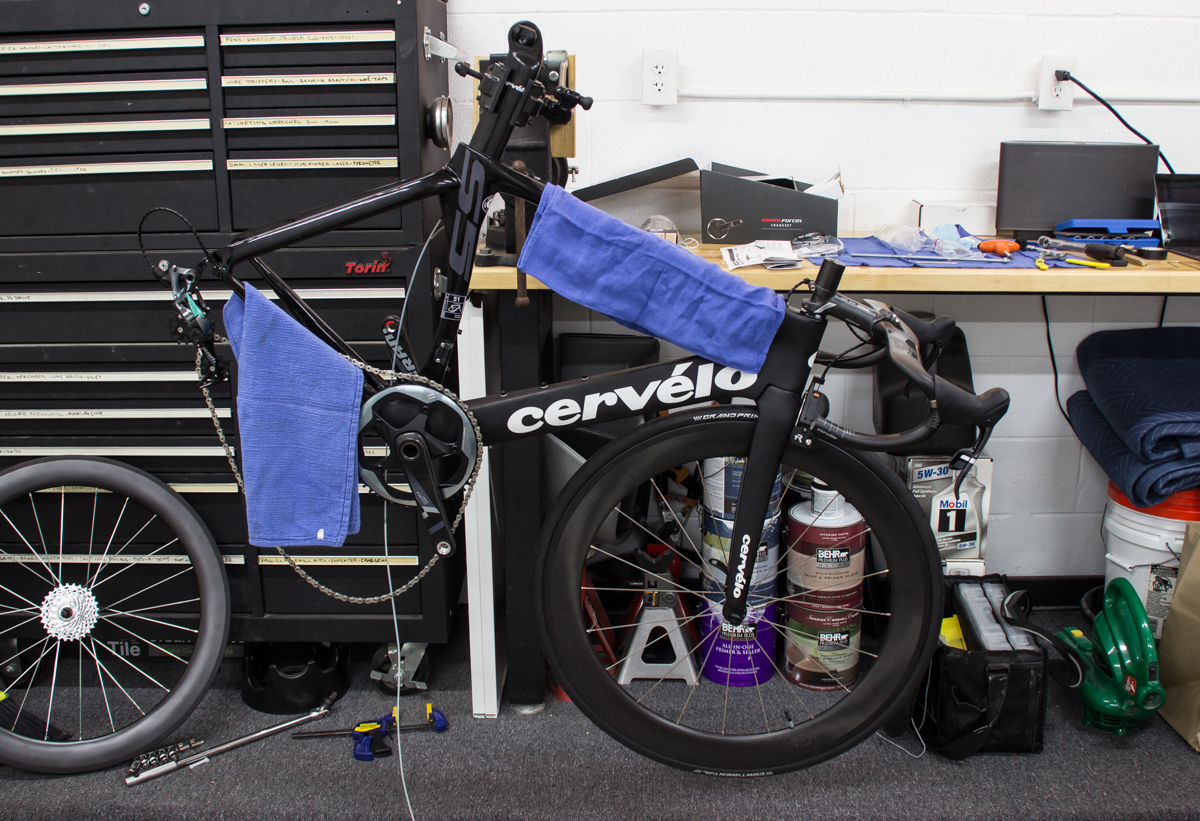
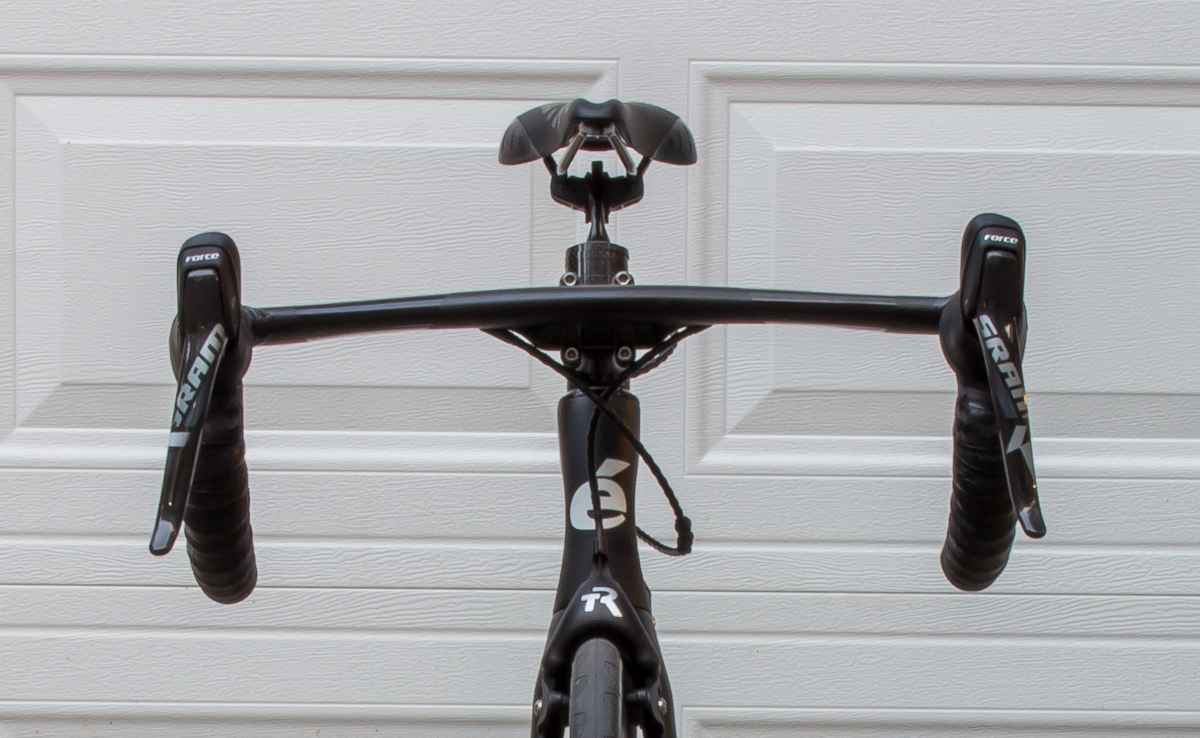
And it's ready to ride! The only thing left is to trim the steer tube, but I want to make sure I like the position first; it's a massive change from the Allez.

Cheers!

3 Comments

S5 Build: Part 4: Crankset and BB

Comment

S5 Build: Part 4: Crankset and BB

In case you missed it, here are the previous installments of this S5 build:

Part 1: Disassembly

Part 2: Front End & BB

Part 3: Rear Brake

With the Wheels Mfg. bottom bracket installed, I put the proper dust caps and washers on the crank and popped it in.

Now here's where things started to suck. At the very end of the installation instructions (from the BB), in fine print, it stated that the wave washer needed to be compressed by at least 75% to ensure proper loading for the angular contact bearings. As seen in the below photo, it was barely compressed at all. Certainly not 75%.

The instructions said if it wasn't compressed enough, REMOVE THE ENTIRE BOTTOM BRACKET, add a shim (provided), and reinstall.

NOOOOOOOOOOOOOOOOOOOOOOOOOOOOOOOOOOOOOOO!

After getting over my considerable sadness, I measured as best I could with some feeler gauges, and determined that I needed to add the 2.5mm shim.

I then commenced to remove the BB. The threaded side came out nicely, of course.

I simply refused to get the hammer back out and smash on my new BB and frame. I couldn't find any sort of press that would work to remove the BB without trauma, so I set about making my own.

s5_web-66.jpg

The idea here was to press the BB with the felt padded washer, out through the large hole in the wood. I started tightening and didn't really feel much resistance, sadly, so I loosened everything to check what was going on.

I was surprised and ecstatic to see the BB coming out perfectly! Yay!

The removal continued smoothly without a problem. So nice. I'm considering tuning up the design and having a proper tool manufactured for this purpose.

Shim added.

I used the same (unsatisfactory, but ultimately successful) technique as before to install. Again, I wished for something that would help with alignment.

Let's try this again.

Success! The wave washer was compressed very nicely, and I couldn't detect any play in the crank.

I was surprised at the tight clearance to the frame, but after inspecting some other bikes, it seems this is normal. I guess I never noticed before.

Time to finish this up and take it for a ride!

On to the last - Part 5!

Comment

S5 Build: Part 3: Rear brake

2 Comments

S5 Build: Part 3: Rear brake

Hopefully you join here having read:

Part 1: Disassembly

Part 2: Front End and BB

I'm not really convinced that using a TriRig Omega X provides any aerodynamic or functional benefit over a dual-lever design from either SRAM or Shimano, but I wanted my brakes to match, so I got one for the rear.

Because of the design of the rear of the frame of the S5, Cervelo uses a mounting adapter for the rear brake. The brake is mounted to the adapter and the adapter is then installed onto the frame.

The Omega X is nicely packaged and contains everything you need to mount the brake to a variety of frames.

TriRig provides a large stack of a variety of spacers to maintain clearance. Due to the design of the Omega backing plate/cable stop in conjunction with the design of the S5 frame (size 51 in this case), I had to use all the spacers, plus a leftover from the front.

I didn't like this for a couple of reasons.

  1. It looks bad.
  2. Having the braking force applied at the end of such a long lever arm dramatically increases the stresses on the bolt and mounting point

From the picture above, I surmised that if I removed some of the (structurally unnecesasry?) material on the corner of the cable stop area, I could remove some of the spacers and improve the setup.

I'm sure this voids the warranty.

After some work on the bandsaw and a couple passes with a metal file, I arrived at above solution. A significant improvement, so I painted and installed.

rear_brake_8.jpg

The Force 1 derailleur is specifically designed for single front chain rings. It has a roller-bearing clutch that prevents chain bounce, which can throw the chain off the front ring. The downside is the weight; this piece is heavy. A SRAM Force 22 non-clutch, short-cage rear derailleur is only 178g. This one is 260g for a mid-cage. Mid-cage allows for up to 32-tooth rear gears, but I'll be running 28t. There is no short-cage option for the Force 1 derailleur.

I spent a long time getting the rear brake cable housing as short as possible, which still allowing full rotation of the handlebars. In pursuit of marginal aero gains, I made the cable too short on the Allez build, which made the rear brake engage when the handlebars were turned too far. It was never a problem while riding, but I was constantly annoyed by this while walking the bike around at stops.

On to Part 4 - where I have to totally re-do the bottom bracket (?!?!?!)

2 Comments

S5 Build: Part 2: Front End & BB

1 Comment

S5 Build: Part 2: Front End & BB

In case you missed it, here's Part 1: S5 Build: Part 1.

Here's where we left off in Part 1, ready for assembly.

I've chosen to build the bike with SRAM Force 1. Single front chainring (52-teeth). No front derailleur, which means no front shifter. The left (front) brake will be just a brake. This groupset was a little tough to piece together. I had to buy each piece separately. I don't know why, but you can't just buy a whole groupset. The crankset (with 165mm cranks) came from Amazon, the left brake lever is a Force CX1 brake-only component originally designed for cyclocross, but the right brake/shifter is Force 22 road component, and labeled as such. The rear derailleur is Force 1, Type 2.1 Clutch design.

You can see the difference in the graphics on the two levers.

Some studies have shown the TriRig Omega X brakes to save 6 watts over traditional side-pull designs. I was concerned about braking performance on a road bike, as the braking of the TriRig Omega SV's on my triathlon bike isn't particularly good. However, I live 700 miles from the nearest mountain, so I might be able to get away with less-than-stellar braking performance.

The TriRig mounts with a single bolt and recessed nut, like most brakes.

I decided to try Jagwire's segmented cable solutions, mostly because of the flexibility and partly because of the looks.

I was going to re-use the Flo 60 aluminum-rim/carbon-fairing wheels from my Allez build, but then Flo completely redesigned the rim profile and released a full carbon clincher. I couldn't resist, so I picked up a set of the 60mm depth.

To keep the look from being too busy, I opted for no stickers. The unidirectional carbon looks great. The front wheel weight came in 32g below the spec.

The spacing between the brake and the fork is mighty tight, but I like it. If it proves too tight, I can just add a 2mm spacer (provided with the brake) to move it farther out.

As mentioned in part 1, I chose to install a self-threading bottom bracket with bearings specifically sized for SRAM GXP cranks.

Sadly, this solution is double the weight of the one I removed, but adapters would've added weight too.

I constructed my own "press" from parts at the local hardware store.

Wheels Mfg. recommends 100% teflon lubricant for installation in carbon. The Finish Line Extreme Fluoro is just that.

The non-drive side is pressed in first. It really wanted to go in crooked. A better press would have some centering component. I ended up having to move the washer around the circumference of the BB to little by little press it in evenly. Move. Press. Move. Press. etc.

The drive side threads into the body of the non-drive side.

Park Tool BBT-29 is the proper size wrench. It is notably not the same as the Shimano HollowtechII size. The Wheels Mfg. installation instructions call for 35-50 Nm of torque, but I was unable to measure with this particular wrench, obviously. There are a few other solutions that allow for the use of a torque wrench. I tightened as much as I felt comfortable, which was certainly less than 35 Nm, but I'd rather not damage the frame. If it proves to not be tight enough, it's trivial to uninstall the crank and re-tighten.

I was greatly relieved to have this part of the build behind me.

On to Part 3!

1 Comment

S5 Build: Part 1: Disassembly

Comment

S5 Build: Part 1: Disassembly

A NEW BIKE

For the last five years, I've been riding a 2009 Specialized Allez. It started as a local sale item. As I rode more, I upgraded it into the gold bike seen below, hanging on the wall.

IMG_20160417_210158.jpg

It's been an excellent bike, but along the way, the headset bearings cracked into pieces and ruined the fork. What better excuse for a new bike?

I ride mostly in Houston, which is flat as can be. As controversial as it may be in the cycling world, I'm a firm believer in the advantages of selecting equipment based on its aerodynamic performance. I analyzed as many tests and opinions as I could find for months and determined the aerodynamically highest performing frame is the 2015+ Cervélo S5.

I then put together a build list of components which I also believed had the highest aero performance: TriRig brakes, SRAM 1x drivetrain, Cervélo aerobars, and Flo 60 Carbon Clincher wheels.

Despite my lack of experience, I was determined to complete the build on my own. I purchased the tools I thought I'd need. I photographed and weighed everything along the way.

Here's a table summarizing the hand-written notes above:

Component Weight (grams) Notes
Frame 982 2015 Cervelo S5 size 51
Rear Wheel 838 Flo 60 Carbon Clincher w/ 11-spd hub
Front Wheel 695 Flo 60 Carbon Clincher
Crankset 644 SRAM Force1, 52T chainring, 165mm cranks
Pedals 438 PowerTap P1 w/ AAA batteries
Fork 367 Cervelo S5, uncut, with insert and star nut
Chain 277 SRAM PC-1170
Handlebar 264 Cervelo 40cm aerobars
Rear Derailleur 259 SRAM Force 1 Medium Cage
Rear Cassette 257 SRAM PG-1170, 11-spd, 11-28T
Seat 245 Fizik Arione Versus K:ium
Tires 211 Continental GP4000SII 23mm (211g for 1 tire; used front and rear)
Seatpost 196 Cervel S5 cut to 317mm with seat clamp and wedge
Right Brake/Shift Lever 159 SRAM Force 22 DoubleTap Control
Rear brake 150 TriRig Omega X, Flo pads, Cervelo bracket, spacers for fitment
Wheels Mfg. Bottom Bracket 149 Model: BBright-Out-for-SRAM, threaded alloy cups, angular bearings
Bar finishing 136 Lizardskin DSP 3.2, Fizik gel, Fyxation bar ends. Weight includes both sides.
Stem 127 FSA OS-99 Csi 100mm -6 deg, with bolts and faceplate
Front Brake 121 TriRig Omega X, Flo brake pads
Left Brake Lever 117 SRAM CX1, brake only
Tubes 71 Vittoria Latex 51mm stem (71g for 1 tube; used front and rear
Wheel Skewer 53 Flo Cycling
Bottle Cage 28 Arundel Dave-O
Misc 556 Cabling, Garmin mount, bolts, whatever else I forgot
TOTAL 7,340 ----------

I hope you enjoy this rather extensively (perhaps excessively) documented account.

I wanted to purchase just the frame, but my local shop (Bay Area Cycling in Pasadena, TX) offered me a great deal on the Cervélo aerobars and FSA OS-99 Csi stem. The bike was actually fully assembled with Ultegra 6800, Rotor crankset, and Mavic wheels, so the mechanics disassembled the bike before I could pick it up. It looked like this when I got it home:

Apologies for the messy garage, but I'm also in the middle of a kitchen remodel, so everything is a bit out of sorts around the house.

Originally I was going to use the Ultegra 6800 group off of my old bike, but I've been wanting to try SRAM's 1x road offering since it was offered on Specialized's "Lunch Race" Venge last year. This seemed the perfect opportunity to try it out. 

I have the old TriRig Omega SV's on my triathlon bike. They look good, but don't stop particularly well with the tiny brake levers on that bike. I decided to give the new Omega X's a try anyway. The design is improved and I'm trying to eliminate every single watt of drag that I can. This is the stack of new parts and tools I ordered for the occasion: 

I wanted to weigh the components individually, so I disassembled (most) of the bike.

Cervelo uses a bottom bracket standard known as "BBright". It's a asymmetrically wider PressFit 30, which means it accepts cranks that are 30mm in diameter, and at least 79mm wide (compared with 68mm of a standard BSA or BB30). The bearings are pressed into cups that are pressed into the carbon frame. Cervelo presses in the Rotor Pressfit 4630 cups/bearings at the factory, and the bike is sold with Rotor BBright specific cranks.

But I didn't want to run Rotor cranks. SRAM GXP cranks are wide enough, but have a tapered crank diameter that is 24mm on the drive side, and 22mm on the non-drive side. My options were to use adapters that sit in the Rotor bearings, like these from Wheels Mfg: adapters, or remove the Rotor system completely and install a bracket that was properly size for the frame and the crank, like this one: BBright -> GXP BB. I generally don't like adapters if the proper solution exists, so I opted for the harder route.

The proper tool for the removal job is the Park Tool BBT-30.3. You slide it in and hammer away. Definitely not an appealing thought for my brand new carbon frame, but I set about doing it anyway.

There was way too much flex in the system while hammering on the stand, that I couldn't believe it was done this way. I called my local bike shop to chat about it, and indeed, they use a second person from behind to hold the frame steady while the other smashes away. Yikes.

I didn't have a second person, nor did I like that idea, so I remove the bike from the stand and jigged it up on the ground, making sure to support the back side of the frame around the BB area as close I could while still allowing the BB to come out.

I commenced hammering. Uncomfortably hard. The bike shop mechanics assured me that the area is quite strong and my only real risk was if I missed the tool and hammered directly on the frame. It still felt terrible, but finally the cup released.

Some sort of accordion spacer lives in the middle.

Flipped over to repeat on the other side. Success! This was the operation that I was dreading the most; I was thankful to have it behind me.

Seatpost weighed. I couldn't get a photo of the frame on the scale without it tipping over.

Frame weight with rear derailleur hanger and a couple titanium bolts was 982g.

Ready to be built back up.

Check out: Part 2.

Comment